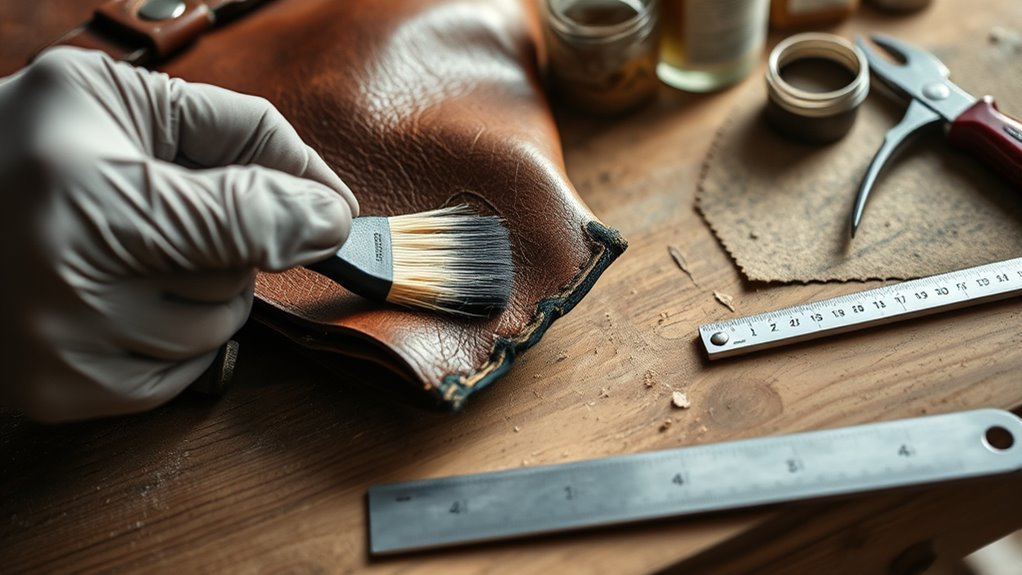
Inspect the corners first, then clean the bag with a damp cloth and leather cleaner, letting it dry fully. Gather leather glue, matching acrylic paint, fine sandpaper, and a soft brush. For scuffs, apply thin paint layers; for deeper wear, sand lightly, glue torn fibers, and press them flat. Smooth edges, let repairs cure 24–48 hours, then condition the leather. Store the bag in a dust bag, lightly filled, to limit future corner damage.
Assess Leather Corner Damage
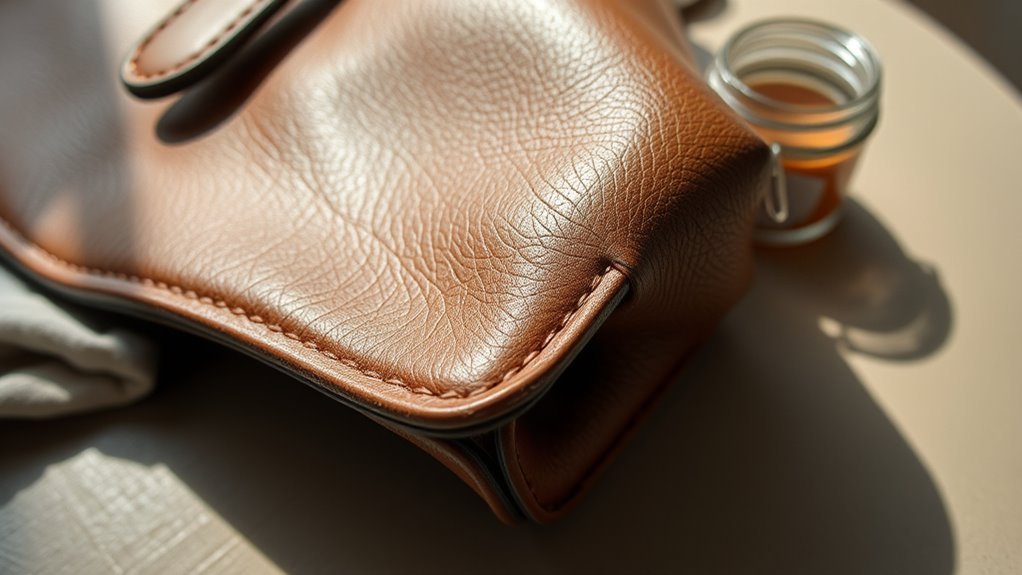
Start by closely inspecting each corner of the bag for scuffs, scratches, tears, and worn-through areas so you can judge the extent of the damage.
Map the damage on every corner, because corner durability varies with use, load, and friction.
Map the damage on every corner, since wear varies with use, load, and friction.
Note whether the leather is full grain, top grain, or another of the common leather types, since each one demands a different repair approach and product.
Look for loose stitching, lifted seams, and frayed edges that could undermine the repair if you leave them in place.
Check the color closely, too; fading or discoloration can change how well a filler, paint, or conditioner will match.
Document each corner separately, including depth of wear, shape of the tear, and any asymmetry between sides.
That record gives you a clean plan, helps you choose the right materials, and lets you repair the bag with control instead of guesswork.
Clean the Bag Before Repair
Before you apply any filler, dye, or adhesive, thoroughly clean the leather bag with mild soap and warm water or a quality leather cleaner, paying special attention to the worn corners.
Use controlled cleaning techniques: dampen a soft cloth, work in small sections, and lift surface soil without saturating the leather. Focus on creases, edges, and corner wear so dirt won’t block adhesion or create uneven color.
For stubborn residue on the lining, run a lint roller across the fabric until debris is gone.
After cleaning, let the bag air-dry completely in a shaded, ventilated space; don’t use heat, which can warp fibers and compromise repair.
This step isn’t optional—it’s essential leather maintenance that prepares the surface for durable restoration. If you rush it, you weaken every later repair.
A clean, dry, stable surface gives you control and helps the next treatment bond properly, so take the time to do it right.
Gather Your Leather Repair Tools
You’ll need leather acrylic paint, leather glue, fine sandpaper, a small paintbrush, a leathercraft tool, and a soft cloth; keep a clean paper towel nearby for wiping away excess paint.
Before you apply anything, make sure the bag’s corners are clean so the repair bonds properly.
After the repair, use leather conditioner to protect the area and keep the leather supple.
Essential Repair Supplies
Gather the essential repair supplies before you work on worn leather bag corners: leather acrylic paint, leather glue, fine sandpaper, and a clean paintbrush for controlled application and strong adhesion. You’ll also need a soft cloth, a paper towel, and leather conditioner to stabilize repaired corners and preserve flexibility across leather types. For advanced repair techniques, keep a stitching awl or needle ready.
| Supply | Use | Result |
|---|---|---|
| Fine sandpaper | Smooth worn edges | Better bonding |
| Soft cloth | Remove excess product | Clean finish |
| Leather conditioner | Restore suppleness | Less cracking |
Keep your tools organized so you can work with precision and freedom. Use the cloth or paper towel to manage overflow, then condition the repair once it cures.
Cleaning Before Repairs
Start by emptying every pocket, shaking the bag upside down to dislodge loose debris, and cleaning the entire exterior with a mild soap and water solution or a quality leather cleaner so the repair surface bonds properly.
Use deliberate cleaning techniques on seams, folds, and worn corners, since residue blocks adhesion and weakens leather maintenance. Run a lint roller over the lining to lift trapped dust and fibers that can mar the finish.
Then let the bag air-dry completely; moisture can warp the leather and interfere with later paint work. While it dries, gather your leather acrylic paint, small brush, fine sandpaper, and leather conditioner.
With a clean, dry, organized bag, you create the controlled base you need to repair it well and move forward with confidence.
Finishing And Protection
A well-stocked repair kit makes finishing work cleaner and more durable. You’ll need leather acrylic paint, fine sandpaper, leather glue, a small paintbrush, and soft cloths to control each step.
Keep matching leather or leather pads ready so you can blend repairs without compromising the bag’s look. Use a leather cleaning solution before any coating, because it helps paints and adhesives bond correctly.
After you shape and secure the corner, apply finishing techniques with a light hand, then inspect the edge for uniform coverage. Wipe away dust with a lint roller or soft brush before each coat.
Finally, use leather conditioner as one of your protective treatments to restore suppleness, reduce cracking, and keep the bag ready for independent, everyday use.
Repair Leather Bag Corners With Acrylic Paint
Start by cleaning the worn corners with a mild soap-and-water mix or a leather cleaner so the acrylic paint bonds properly.
Then dab a matching leather acrylic paint onto the damaged areas with a small brush in thin layers, building coverage without adding bulk.
While it’s still wet, wipe off any excess to blend the repair into the original leather finish.
Prep Corners for Paint
Clean the worn corners thoroughly with a mild soap and water solution or a quality leather cleaner so the paint can adhere properly. Then let them air-dry completely to avoid warping.
Once dry, you’re ready for precise prep:
- Inspect the fibers and trim loose edges.
- Select acrylic paint through careful color matching to the bag.
- Test your paint techniques on an unseen spot.
- Keep the surface free of dust and oils.
Apply only what the leather can accept; excess product weakens control and finish.
Work in a clean, well-lit space so you can see edge wear clearly and maintain discipline. This prep gives you the freedom to restore the corner with accuracy, setting up a durable, seamless repair before you move on to paint application.
Dab and Blend Paint
Load a small paintbrush with leather acrylic paint that closely matches your bag’s color, then dab a thin layer onto the worn corners to build coverage gradually without drips. | Step | Action |
| — | — |
|---|---|
| 1 | Check color matching under natural light |
| 2 | Dab, don’t brush, for control |
| 3 | Add thin layers as needed |
| 4 | Wipe excess paint while wet |
| 5 | Dry in ventilated air for one hour |
Your paint application should stay light and deliberate. Multiple thin coats give you a cleaner edge and better adhesion than one heavy coat. If paint creeps beyond the corner, clean it immediately with a soft cloth before it sets. Let each layer level out before adding more. After the final coat, leave the bag untouched in a well-ventilated space for at least an hour. That patience protects your repair and keeps the finish sharp and free.
Fix Deeper Corner Damage With Leather Glue
For deeper corner damage, first wash the area with a mild soap solution to remove dirt and debris, then let it dry completely. You’re preparing the leather for a bond that can hold under real use, not just look neat.
- Buff the worn corner lightly with fine sandpaper to open the surface.
- Choose from leather glue types suited to flexible repairs; match the product to your bag’s finish.
- Apply a thin, even coat of glue, pressing it into gaps and tears for full contact.
- Let it cure overnight, then buff lightly again and apply conditioner.
These corner repair techniques help you regain control without overbuilding the edge. Keep the glue layer minimal so it stays flexible and doesn’t telegraph through the surface.
After curing, inspect the repair for lift or voids, then condition the leather to restore suppleness and reduce future cracking.
Build New Corners With Leather Pads
When the corner is worn too far to simply fill, you can rebuild it with a leather pad cut to match the damaged area. Measure the loss carefully, then choose from leather pad types that suit the bag’s thickness and grain.
Cut each pad so it fits snugly over the corner without forcing the shape. Apply a thin, even coat of strong leather glue to both surfaces, covering the pad and the purse corner. Press the pad into position and hold it firmly, or clamp it, for several hours so the bond sets under steady pressure.
This step gives you control and keeps the repair honest. After curing, check the edge alignment and confirm the corner holds its new form. These corner repair techniques restore structure without surrendering the bag to further wear.
Finish by conditioning the new leather so it stays flexible and resists future cracking, keeping your gear ready for use.
Smooth and Blend the Repair
Feather the repaired edges with fine sandpaper so you can remove any sharp shifts and match the surrounding leather texture.
Then apply a thin coat of leather conditioner to help the repair blend into the original surface and keep the corner flexible.
Let it absorb fully so the finish settles evenly and doesn’t leave a visible seam.
Feather the Edges
Let the repair dry completely in a well-ventilated area, then smooth the alteration by feathering the edges with care. You’re not hiding the fix; you’re engineering a cleaner transition with feathering techniques and controlled blending methods.
Use these steps:
- Lightly buff the border with fine sandpaper.
- Apply a thin coat, then add another only if needed.
- Wipe excess paint from the edge with a soft cloth while it’s still wet.
- Recheck the perimeter after drying for any abrupt line.
Work gradually, so the repaired zone thins into the original leather instead of stopping hard. Keep your pressure light and your passes exact.
This precision preserves the bag’s corner profile and gives you a finish that looks deliberate, durable, and free.
Blend With Conditioner
Once the leather acrylic paint has dried, apply a high-quality leather conditioner to the repaired corners to smooth the finish and help the color blend into the surrounding leather.
Choose a product made for leather, not a generic balm, so you preserve texture and avoid stiffness or cracking.
Using a clean microfiber cloth, massage the conditioner into the corners with controlled pressure; this is one of the most effective blending techniques.
Let it sit for at least 30 minutes so it can penetrate, soften the fibers, and deliver conditioner benefits that support flexibility.
Then buff the area with a soft cloth to remove excess and restore a polished, even surface.
Recondition every few months to limit future damage and keep your bag strong, supple, and free.
Let the Leather Dry Fully
After cleaning or painting, you need to allow the leather to dry completely so the repair bonds properly and the bag keeps its shape. Use smart drying techniques and choose drying environments that stay cool, airy, and shaded. Give the corners at least 24–48 hours to cure without rush or interference.
- Place the bag in a well-ventilated room.
- Keep it away from direct sunlight and heat sources.
- Leave it untouched so moisture can escape evenly.
- Check that every repaired edge feels fully dry before moving on.
If you cut this stage short, the leather can warp, the acrylic paint may crack or peel, and trapped moisture can invite mold or faster deterioration.
Patience here protects your freedom from repeated fixes. When the corners are truly dry, you set up a stronger, cleaner result and preserve the bag’s structure for the next step.
Condition the Repaired Corners
Use a high-quality leather conditioner on the repaired corners to restore moisture and keep the leather supple after drying. Choose a formula made for leather so you don’t compromise the repair. Apply a small amount with a clean microfiber cloth, then massage it into the corners with controlled pressure, especially on damaged or painted zones. This process reduces stiffness, supports flexibility, and limits future cracking.
| Step | Action | Result |
|---|---|---|
| 1 | Select leather conditioner | Material compatibility |
| 2 | Apply sparingly | No saturation |
| 3 | Work into corners | Even penetration |
| 4 | Wipe excess | Clean finish |
| 5 | Repeat every 3-6 months | Leather longevity |
These maintenance tips help you preserve appearance and durability without surrendering control to wear. Consistent conditioning keeps the repaired areas resilient, so your bag stays functional, polished, and ready for daily use.
Store the Bag To Prevent Wear
With the corners conditioned, store your leather bag in a cool, dry place to slow down moisture damage and mold growth. Your proper storage routine should support moisture control and preserve the repair you’ve made.
Store your leather bag in a cool, dry place to control moisture and preserve the repair.
Use these steps:
- Slip the bag into a dust bag or clean pillowcase to block dust and abrasion.
- Add silica gel packets nearby to absorb excess humidity and reduce warping.
- Keep the bag lightly filled, not overstuffed, so the corners and seams stay relaxed.
- Air it out periodically, and place it away from direct sunlight to prevent fading, drying, and cracking.
This approach keeps the leather stable, protects the structure, and limits new wear. You’re not just putting the bag away; you’re maintaining its integrity with deliberate, practical care.
Proper storage gives you control over the conditions that cause damage, so the bag stays ready for use without losing shape or strength.
Frequently Asked Questions
Can a Worn Leather Bag Be Restored?
Yes, you can restore a worn leather bag using restoration techniques like leather glue or acrylic paint. With consistent leather maintenance, you’ll reduce further wear, preserve structure, and often revive damaged corners effectively.
How to Fix Leather Edges?
You can fix leather edges by sanding, bonding, and conditioning: buff worn fibers, apply leather glue with matching leather, then finish with edge conditioning. This leather maintenance restores structure, and you’ll preserve freedom through durability.
Do Leather Repair Kits Actually Work?
Yes, leather repair kits can work on minor scuffs and scratches. Your repair kit effectiveness depends on clean prep, matching materials, and careful application. Use leather maintenance tips to prevent deeper damage and preserve autonomy.
How to Repair Scuffed Leather Handbag?
You’d clean the scuffed area first: for example, a commuter’s bag restored after wiping and conditioning. Use scuff removal techniques with mild leather cleaner, then conditioner or repair kit. Follow these leather care tips, and let it dry.
Conclusion
Now you can keep those worn corners from becoming your bag’s Achilles’ heel. By cleaning, repairing, blending, and conditioning the leather, you’ve given the edges a stronger finish and a longer life. Let the repairs cure fully, then store the bag in a cool, dry place and avoid overloading it. With routine care, you’ll slow future abrasion and preserve the bag’s shape, color, and durability for many more outings.