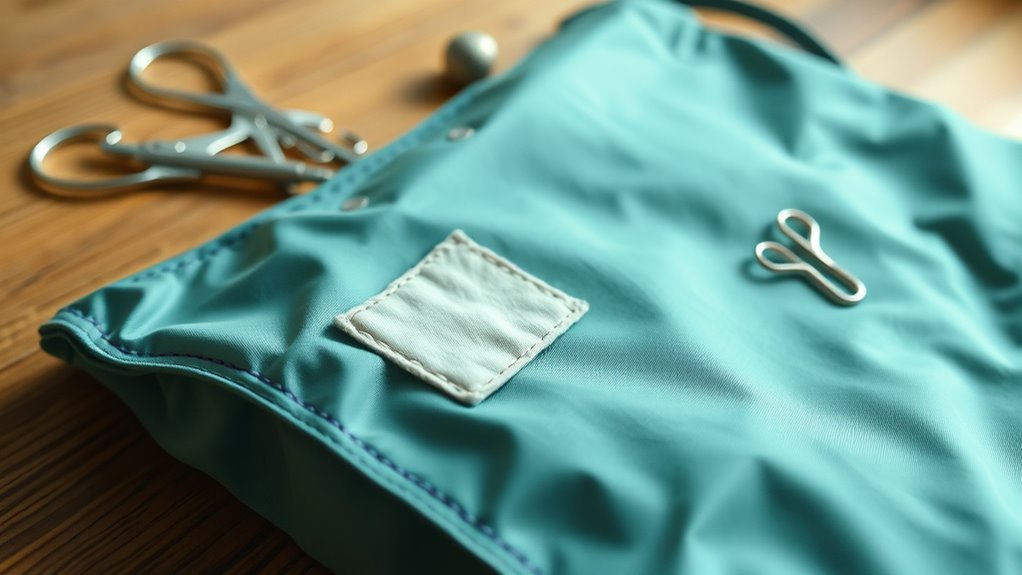
To patch a nylon purse without weakening the fabric, use a clear, flexible patch like Tear-Aid Type A and make sure it overlaps the damage by at least one inch. Gently clean the area with mild soap and water, then let it dry fully. Peel, align, and press the patch from the center outward to remove bubbles. For extra hold, lightly seal the edges with clear fabric adhesive, and you’ll see how to keep it discreet and durable.
How to Patch a Nylon Purse
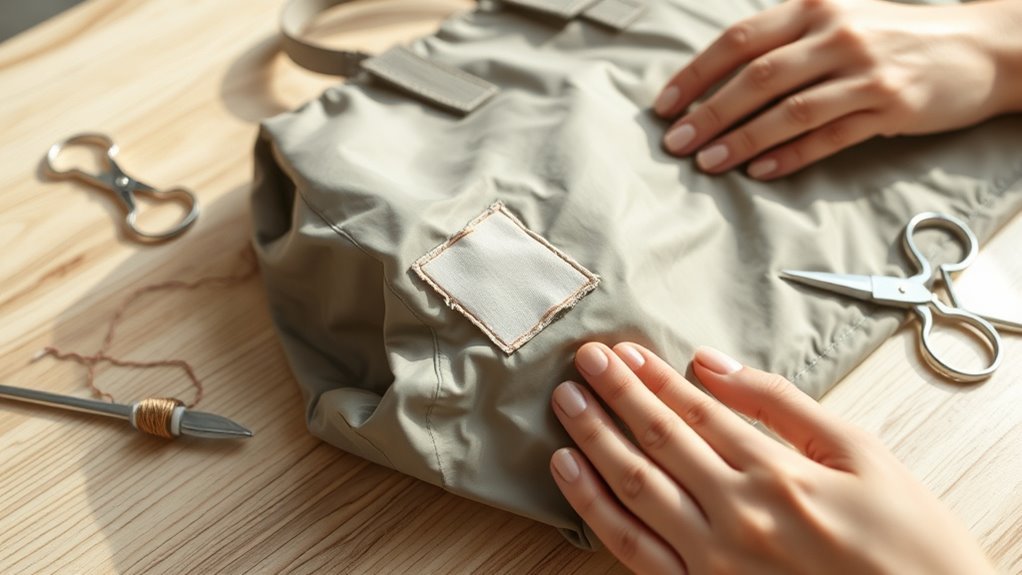
To patch a nylon purse, clean and dry the damaged area first. Then cut a Tear-Aid Type A patch at least one inch larger than the tear so it covers the full weak spot.
You’ll use patching techniques that restore strength without sewing or heat, so your repair stays simple and empowering. Peel the backing, align the patch carefully, and press it down from the center outward to remove air pockets. Smooth every edge so the bond grips the nylon evenly.
Because the patch is transparent and low-profile, it blends into the purse and protects your fabric care goals without changing the look. Tear-Aid Type A also resists UV exposure and weather, which helps the repair last through daily use and shifting conditions.
In a few minutes, you can reclaim a purse that’s ready to carry your essentials with confidence, durability, and freedom from avoidable waste.
Choose the Right Nylon Patch
Choose a Tear-Aid Type A patch made for nylon and lightweight fabrics so it bonds securely without harming the purse. You should match the patch materials to your bag’s needs: pick a clear, flexible, weatherproof option that won’t stiffen the fabric or trap movement.
Aim for a patch that extends at least one inch beyond every edge of the damage; that extra margin gives the repair real support and helps you reclaim the purse’s strength. Favor UV-resistant patches if you carry the bag outdoors, since sunlight can break down lesser adhesives.
Transparent, low-profile designs protect patch aesthetics by blending with the nylon instead of shouting over it. When you choose a patch that stays supple, you keep the purse free to bend, fold, and move naturally.
That freedom matters, because a repair should restore function without taking away the bag’s original feel or character.
Clean and Prep the Damaged Area
Start by washing the damaged spot with mild detergent and water to remove dirt, body oils, and other residue that can block adhesion.
Use smart cleaning techniques: dampen a soft cloth or sponge, then gently scrub the area in small circles.
Don’t use harsh chemicals, bleach, or abrasive pads, because they can weaken nylon fibers and compromise fabric care.
Rinse lightly if needed, but keep the surface controlled and clean.
Check that no grime or soap film remains, since leftover residue can stop the patch from bonding.
Pat the area with a dry towel, then let it air-dry completely before you move on.
Moisture trapped in the weave can loosen the patch and reduce durability.
Inspect the fabric closely for extra wear, frayed edges, or hidden damage, so you can address it before you proceed.
A clean, fully dry surface gives you the strongest base for a repair that lasts.
Fix Tears, Holes, and Snags
For tears, holes, and snags in nylon, use a Tear-Aid® Type A patch made for lightweight fabrics so you can repair the damage without stressing the material. Trim it to extend at least one inch past the injury, then match the shape to the area. Clean, dry nylon gives you the bond you need, and that’s one of the most useful fabric care essentials.
| Damage | Patch fit |
|---|---|
| Small snag | Trimmed patch with wide overlap |
| Tiny hole | Full coverage beyond edges |
Press the transparent patch firmly so it lays low and blends with the purse. This keeps the repair discreet and supports the surrounding weave. If you’re following purse maintenance tips, check the edge coverage before you call it done. For larger tears, repeat with a larger piece, but keep the same overlap rule. You’re not just covering damage—you’re protecting your freedom to keep using the purse without compromising its structure.
Apply the Patch Without Stiffening
Once the area is clean and dry, apply a Tear-Aid Type A patch made for nylon so the bond stays flexible and doesn’t stiffen the fabric.
Cut the patch at least one inch larger than the tear, giving the nylon enough coverage to move naturally and resist lifting at the edges.
Peel the backing, align the patch carefully, and lay it down in one smooth motion. Press from the center outward with firm, even strokes to push out air bubbles and keep the fabric’s original feel.
Because the patch is transparent and low-profile, it supports patch aesthetics while staying nearly invisible on the purse. That clean finish also helps patch longevity by reducing stress points and preserving the nylon’s structure.
Work slowly, keep your hands steady, and let the material stay supple, functional, and free from a bulky, rigid repair.
Seal the Edges for a Strong Hold
With the patch in place, focus on the perimeter so the repair holds up over time. Clean the tear’s edges carefully; any lint, dust, or oil can weaken adhesion techniques and let the bond fail.
Choose a clear, flexible patch such as Tear-Aid Type A, then position it so it overlaps the damage by at least one inch on every side. That extra margin spreads stress and gives you solid edge protection.
Press from the center outward, then work along the edges with firm pressure to push out air bubbles and lock the patch down. If you want more security, brush on a thin line of clear fabric adhesive around the border after the patch sets.
Keep the coat light so you reinforce the seam without adding stiffness. Done this way, you protect the nylon, preserve movement, and claim a repair that stands up to daily use.
Keep the Repair Flexible and Low-Profile
To keep the repair flexible, choose a Tear-Aid Type A patch made for nylon and cut it at least one inch larger than the tear so the area stays supported without getting stiff.
Clean and dry the purse first, then press the patch on firmly so it bonds with the fabric’s natural movement. Because you’re using flexible materials, the repair won’t trap the nylon or limit its give.
Clean and dry first, then press the patch firmly so it moves naturally with the nylon.
- Trim the patch neatly so it follows the purse’s shape.
- Skip heat and sewing; they can weaken nylon and distort the finish.
- Use the transparent patch for low profile designs that stay discreet and free.
This approach helps you protect your bag without turning it rigid or obvious. You keep the original texture, preserve the purse’s structure, and let the repair disappear into the surface.
That means your gear stays ready for your daily move, with less restriction and more lasting integrity.
Frequently Asked Questions
Can You Put Patches on Nylon Bags?
Yes, you can patch nylon bags with the right fabric types and adhesive options. You’ll want clean, dry nylon and a flexible patch that extends beyond the tear, so you protect strength and avoid extra holes.
Can I Patch Nylon?
Yes—you can patch nylon like mending a sail with a clear shield. You’ll preserve nylon durability and patch longevity by cleaning, drying, and applying a low-profile adhesive patch that extends one inch past the tear.
What Is the Best Nylon Repair Patch?
You’ll get the best results with Tear-Aid Type A; it’s built for nylon, gives instant waterproof hold, and stays flexible. For nylon patching techniques, choose clean edges and strong adhesive options that won’t stiffen your fabric.
How to Fix a Hole in Nylon Clothing?
Clean and dry the hole, then use nylon patch materials like Tear-Aid Type A, cut larger than the tear, and press firmly. Skip sewing techniques; they’ll add holes and weaken your fabric.
Conclusion
With the right patch, you can mend your nylon purse without turning it into cardboard. Clean the area, trim loose threads, and use a flexible adhesive or iron-on patch made for synthetic fabric. Press it in place, then seal the edges lightly so the repair stays strong but supple. Handle the fix like a stitch in time—you’ll keep your purse looking neat, lasting longer, and moving with you naturally.