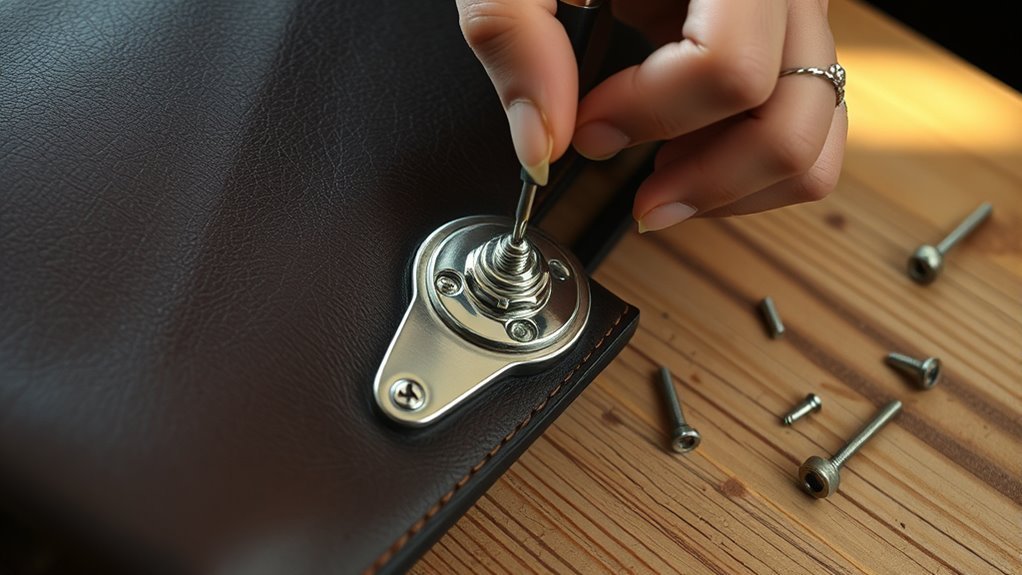
Start by checking the turn lock for wobble, bent prongs, loose screws, and gaps in the material. Gather a mini screwdriver, pliers, seam ripper, fabric glue, and Fray Stop. Tighten the back screws, then realign the flat back ring so the prongs seat fully. Reinforce worn fabric with fusible interfacing and repair stripped holes if needed. Replace damaged hardware if the lock still shifts, and test the turn action to spot the next fix.
How Do You Diagnose a Loose Turn Lock?
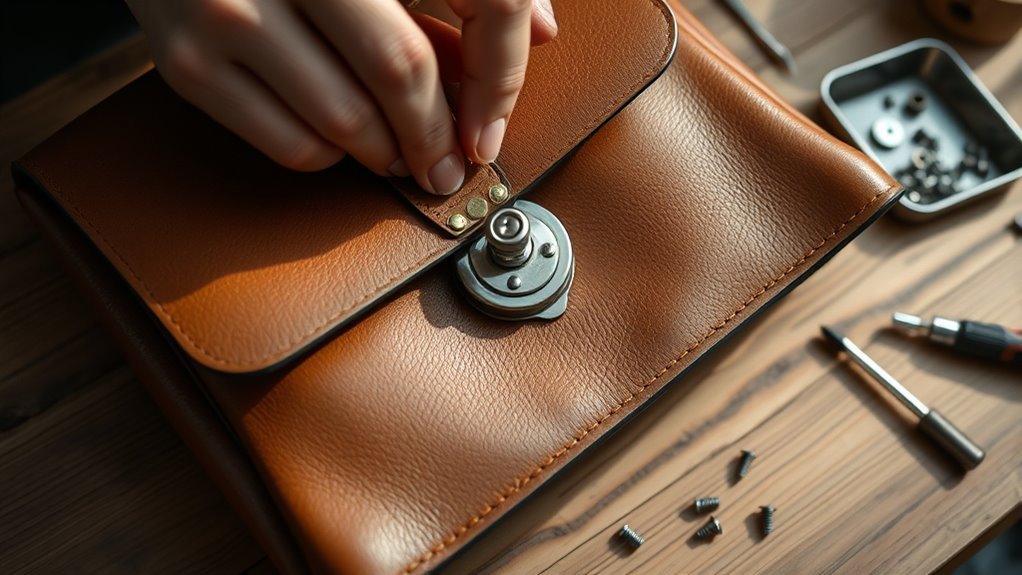
To diagnose a loose turn lock, inspect the mechanism closely for visible wear or damage, including loose screws or bent prongs.
You should then study the lock mechanisms for misalignment, because shifted parts can make the turn lock feel unstable or fail to catch.
Use diagnostic techniques that expose movement: gently twist the lock and watch for wobble. If it shifts, the prongs may not be secured to the fabric.
Check for gaps between the lock and the material; spaces usually point to worn fabric or poorly fastened prongs.
Also test whether the lock turns too easily. When it spins with little resistance, the screws may need tightening, or the washers may not be holding the parts together correctly.
Gather the Tools You Need to Fix It
Before you start the repair, gather a screwdriver, seam ripper, fabric glue, and pliers so you can work without interruption.
Add a cutting block and an exact-o knife for trimming damaged material or shaping replacement pieces. Keep a leather awl nearby if you need to mark or punch clean holes in thicker leather.
Set out Fray Stop or a similar adhesive to seal raw fabric edges and stop further wear. If you suspect missing hardware, prepare replacement washers and screws before you begin.
Good tool organization keeps your workspace clear and your hands free to act with precision. Build a simple repair checklist so you can confirm every item before you open the bag.
When you arrange tools in advance, you cut delays, reduce mistakes, and stay in control of the process. That preparation gives you the freedom to fix the lock efficiently and move on.
Tighten the Turn Lock Screws First
Start by locating the screws on the back of the turn lock and tightening them securely with a mini screwdriver.
Make sure each screw sits straight and properly aligned so you don’t strip the holes or stress the hardware.
Then test the lock for stability to confirm there’s no movement in the mechanism.
Tighten Screws Securely
Grip the small screwdriver and tighten the screws on the back of the turn lock first, since they secure the entire assembly. You’re aiming for firm resistance, not brute force, so stop when each screw seats snugly.
That balance protects the screw materials and preserves fabric compatibility, especially on softer linings or coated textiles. Watch the back plate as you work; any gap against the fabric usually means a fastener still needs attention.
If a screw keeps backing out, add a small amount of thread-locking adhesive for security without permanent damage. Keep your grip steady and your motion controlled.
During regular maintenance, inspect these screws after repeated use so the lock stays reliable and you stay free from avoidable repairs.
Check Screw Alignment
Once the screws are snug, check their alignment on the back of the turn lock assembly. You’re not just tightening hardware; you’re restoring control over a loose closure.
Use a mini screwdriver and match the screw types to the lock materials so you don’t strip threads or scar the fabric.
- Inspect each screw head for tilt or offset.
- Verify the flat back ring sits square with the prong holes.
- Straighten any bent prongs before you go further.
- Replace damaged parts if alignment can’t be corrected.
Keep pressure even, and stop as soon as the screws seat cleanly. Misalignment often causes the lock to bind, so precision matters.
When everything lines up, the assembly can function as intended, without needless resistance.
Test Lock Stability
Tighten the screws on the back of the turn lock first, since they’re usually the parts holding the mechanism steady. Use a small screwdriver and snug each screw without overtightening, because stripped holes weaken the hardware and keep you dependent on preventable repairs.
Inspect the screws for wear, bending, or corrosion; replace any damaged piece before you go farther. Once secure, turn the lock several times and confirm it engages and disengages smoothly, with no drag or wobble.
If it still shifts, add one small drop of locktite glue to each screw for extra hold. These lock maintenance tips are handbag repair essentials when you want durable function and freedom from failure.
Realign the Turn Lock for a Snug Fit
To realign the turn lock for a snug fit, remove any screws holding the flat back ring so you can access the prongs and turning mechanism.
Then inspect each contact point and make sure the prongs seat fully in their slots. Center the flat back ring over the insertion point before you tighten anything. If the lock still shifts, add a thin washer or shim to reduce play and restore control.
Good turn lock maintenance also means checking the surrounding fabric layers; weak reinforcement can let the hardware drift again. Keep your handbag care focused and deliberate so the repair holds.
Check the surrounding fabric layers too; weak reinforcement can let the hardware drift again.
- Loosen the screws just enough to reposition the lock.
- Align the prongs squarely in their slots.
- Center the ring, then tighten evenly.
- Twist the lock and confirm smooth, secure operation.
Secure a Wobbly Turn Lock Base
If the turn lock base feels loose, start by checking every screw to make sure it’s tight and not stripped, and replace any damaged hardware right away.
Once the hardware is sound, add a tiny drop of locktite glue to each screw thread before you reinstall it. That simple step helps lock the base down without overworking the turn lock materials.
If the base plate still shifts, place a thin layer of fabric or interfacing behind it to improve support and keep the assembly steady.
Next, inspect the prongs on the lock body. If they’re bent or misseated, adjust them carefully so they sit flush against the fabric. You want firm contact, not stress points.
As part of routine handbag maintenance, check the mechanism for wear and swap out worn parts quickly. When you stay proactive, you keep your bag secure and move with confidence.
Reinforce the Fabric Around the Lock Opening
Reinforce the fabric around the lock opening with fusible interfacing, such as Pellon Dcor Bond Fusible, to add stability and prevent fraying. You’re using one of the most effective fabric stabilization techniques for reliable lock opening reinforcement.
Reinforce the lock opening with fusible interfacing to add stability, prevent fraying, and keep the closure secure.
- Cut a stabilizing square slightly larger than the opening.
- Fuse it to the wrong side with firm, even heat.
- Make sure the fabric layers feel thick enough to carry the turn lock.
- Seal exposed edges with Fray Stop, then let it cure.
This reinforcement helps the handbag resist daily stress without losing shape.
Check the area regularly for wear, edge lift, or soft spots, and add more support if the fabric starts to weaken.
When you strengthen this section now, you protect the lock’s alignment and keep the closure working smoothly.
You’re not just patching damage; you’re reclaiming durability, control, and long-term function.
Fix Stripped Screw Holes in the Hardware
Once the fabric around the lock opening feels stable, check the hardware itself for stripped screw holes. Remove the loose screws, inspect the threads, and decide which repair materials fit the damage. Clean holes accept glue better and hold alignment.
| Damage level | Repair method | Notes |
|---|---|---|
| Light wear | Wood glue fill | Let cure fully |
| Moderate wear | Epoxy fill | Stronger bond |
| Wide hole | Toothpick or dowel insert | Trim flush after drying |
| Repeated loosening | Larger screw | Match screw types carefully |
Pack stripped holes with wood glue or epoxy, then wait until the fill hardens. If the opening stays weak, glue in toothpicks or wooden dowels, let them dry, and trim them flush. For a more permanent fix, choose a slightly larger screw or a different thread pattern so the hardware bites cleanly. Reattach the lock, keep the parts aligned, and test the turn mechanism. You deserve hardware that stays firm and works with ease.
Replace Damaged Turn Lock Hardware
First, assess the turn lock for bent, cracked, or worn parts and confirm you’ve got matching replacement hardware.
Then unscrew the damaged components, keeping track of washers and any small fittings as you remove them.
Install the new lock by aligning the prongs with the existing slits or holes, then tighten the screws securely and test the action.
Assess Hardware Damage
Inspect the turn lock hardware for visible damage before you try any repairs, since bent prongs, a worn twist lock, or loose screws can keep the closure from working properly.
Check the turn lock types you have and identify the common materials so you can match replacement parts exactly.
- Examine the back ring and flat back ring for cracks or distortion.
- Tighten every screw and washer with a screwdriver.
- Replace any broken component with compatible hardware.
- If the assembly still shifts, use a small amount of locktite glue.
You’re restoring control, so verify that each fastener seats flush and the mechanism moves without resistance.
Don’t force damaged parts; precise replacement protects the handbag’s structure and keeps the closure secure.
Remove Worn Components
If the turn lock still binds or shifts after tightening the hardware, remove the worn parts before they fail completely. Inspect prongs, screws, and the turning mechanism; these worn components usually show the earliest fatigue. Use a screwdriver to back out loose or damaged screws from the back ring, and keep each piece sorted so you can reclaim control during reassembly.
| Part | Check | Action |
|---|---|---|
| Prongs | Bent or thin | Replace |
| Screws | Stripped | Remove |
| Turn body | Rough motion | Swap |
| Ring | Loose fit | Match |
| Hardware | Corroded | Compare replacement options |
Choose new turn lock hardware that matches the original specs exactly. Align every prong, fasten firmly, and, if you want extra durability, add a small dab of locktite glue before tightening.
Install Replacement Lock
With the old lock removed, fit the replacement hardware to your handbag’s size and style before installing it.
Match turn lock types carefully so the new piece preserves alignment and supports long-term handbag maintenance. Reinforce the fabric with fusible interfacing, giving the panel enough strength to hold the hardware without strain.
Then mark the prong positions accurately, cut snug slits, and keep the openings tight to prevent later loosening.
- Position the lock over the marked area.
- Insert each prong through the prepared slits.
- Check that the back ring sits flush.
- Tighten the screws firmly and test the turn action.
You’re restoring control, not just replacing a part, so make every fastener secure and every edge clean.
Test the Turn Lock for Smooth Operation
Gently twist the turn lock to make sure it turns smoothly without resistance, which shows it’s properly aligned and installed. This quick test confirms smooth operation and gives you a clear read on lock maintenance.
Watch the prongs and flat back ring while you turn it; they should stay firm, with no shifting or flexing. If you feel drag, stop and inspect the mechanism for fabric caught in the slot, bent hardware, or debris blocking movement. Clear any obstruction before you test again.
If the lock still feels stiff, apply a small amount of lubricant to the moving parts, then work it through several turns. Recheck after installation and after regular use, because a secure turn lock should stay responsive without force.
Prompt testing helps you catch issues early, protect the handbag, and keep every part working as intended.
Keep the Turn Lock From Loosening Again
You should tighten the screws securely after reassembly. Then apply a small amount of thread-locking adhesive to keep them from backing out with use.
Check the turn lock’s alignment often, since minor shifts can add stress and start loosening the hardware again. If you catch movement early, you can correct it before the lock fails.
Tighten Screws Securely
Use a mini screwdriver to tighten the screws on the back of the turn lock until they’re snug, but don’t overtighten them or you may strip the holes. Set screw torque by feel: firm resistance, no grinding.
- Check each screw head sits flush.
- Verify the prongs bend away from the center.
- Keep debris out of the mechanism.
- Reinspect on a set maintenance frequency after use.
If a screw backs out again, tighten it immediately to preserve secure closure and reduce play.
Clean the area first, then retest the lock’s movement. You’re maintaining a small mechanism, so precision matters; a loose fastener can throw off alignment and invite wear.
Add Thread Lock
To keep the turn lock from loosening again, apply a small amount of thread lock adhesive to the screw threads before tightening them.
Clean and dry the screw surfaces first so the adhesive application bonds properly and doesn’t trap debris.
Select from thread lock types rated for metal screws; you need a product that resists vibration and movement in handbag hardware.
Use only enough to coat the threads lightly, then tighten the screws firmly so the lock stays secure without excess residue.
Let the adhesive cure for the manufacturer’s full recommended time, often 24 hours, before you use the bag.
After that, inspect the turn lock periodically; if you notice loosening, reapply thread lock and restore control over your hardware.
Check Alignment Often
Check the turn lock alignment regularly so the components fit snugly and operate smoothly, since even slight misalignment can cause the hardware to loosen over time.
Use disciplined alignment techniques and set a sensible adjustment frequency based on wear.
- Inspect the front and back screws, then tighten any that move with a screwdriver.
- Confirm the prongs sit flat against the fabric and don’t shift under pressure.
- If the lock mounts on a flap, verify the flap meets the mechanism squarely.
- Add a small amount of thread lock adhesive to the screws if you want extra retention.
When you keep the assembly true, you reduce strain, preserve function, and stay in control of your bag’s hardware.
Frequently Asked Questions
How to Fix Magnetic Purse Closures?
Check alignment, clean debris, and test magnet contact. For magnetic closure repair, reattach loose parts with fabric-safe adhesive, reinforce worn lining, and replace weak magnets. Regular purse lock maintenance keeps your purse secure and functional.
What Can I Do if My Door Lock Is Loose?
Tighten the screws first; a loose door lock is a loose cannon. You should inspect door hardware, replace stripped screws, add a shim if needed, and keep up lock maintenance for lasting security.
How Can I Prevent My Purse Strap From Slipping off My Shoulder?
Use purse strap adjustments first: shorten the strap, choose wider, textured material, and add shoulder grip solutions like silicone strips. You’ll keep the bag anchored, reduce bounce, and move freely without constant readjustment.
How to Fix Leather Purse Straps?
You’ll rescue your purse straps like a bridge engineer: inspect tears, apply leather repair techniques, sew with heavy-duty thread, add purse strap reinforcement rivets, then condition the leather so it stays supple and free.
Conclusion
Once you tighten the screws, realign the base, and replace damaged hardware, your handbag turn lock should feel solid again. I once fixed a vintage bag whose clasp rattled like a loose hinge; after a quick screw reset and a thread-lock dab, it shut with a clean, secure click. That small repair can prevent bigger wear later. Keep checking the hardware, avoid overloading the bag, and you’ll help the lock stay snug and reliable.