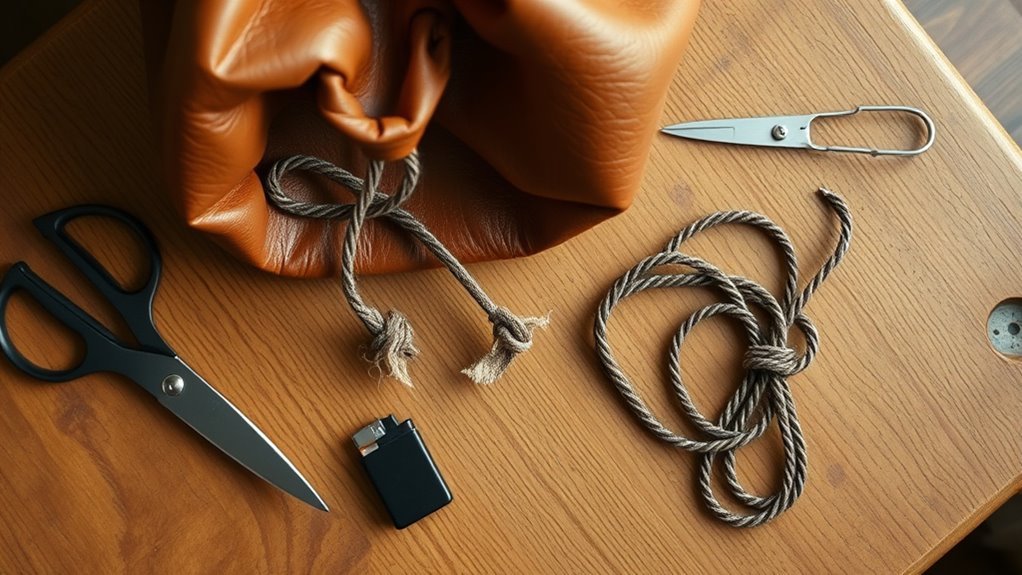
To replace a bucket bag drawstring without fraying, remove the old cord, measure a new one to the same length plus 8 inches, and seal both cut ends with clear tape, fray stopper, or a quick melt for synthetics. Attach a safety pin and thread it slowly through the casing. Tie tight stop knots or Figure Eight knots at both ends, then test that it slides freely; next, you can refine the repair and prevent repeat wear.
How to Replace a Bucket Bag Drawstring
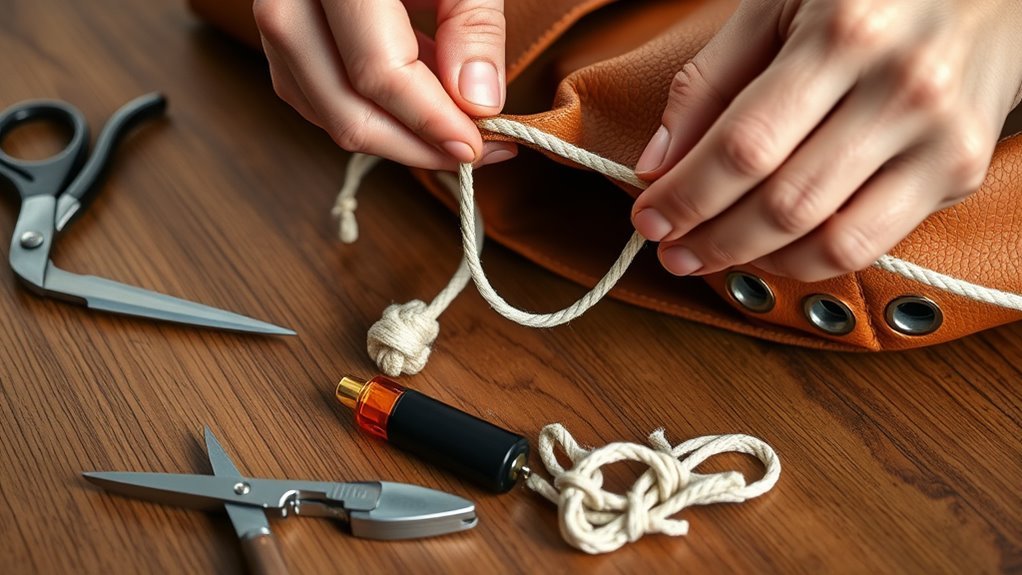
To replace a bucket bag drawstring, start by untying any knots and pulling the old cord out of the casing.
Then measure your new cord or string to the length you need, and add 8 extra inches so you’ve got enough material to handle and tie cleanly. Choose drawstring materials that suit the bag’s weight and your use.
Measure your new cord, then add 8 extra inches for easy handling and a clean, secure tie.
Next, attach a safety pin or paper clip to one end and feed it through the casing, advancing it slowly so it doesn’t snag.
Once the cord emerges, pull both ends even. Tie secure knots, such as a Figure Eight knot, at each end to lock the length in place.
If you want added function, set cord stops or decorative beads on the ends. This simple bag maintenance task restores access, control, and daily independence.
What Keeps Bucket Bag Drawstrings From Fraying?
You can keep a bucket bag drawstring from fraying by sealing the cut fibers with clear tape, heat, or a fray stopper.
You should also secure the ends with a tight knot, like a Figure Eight or Double Knot, to limit wear.
Regular checks let you catch early fraying before it spreads.
Knot End Security
Secure the drawstring ends with a strong knot, such as a Figure Eight or Double Knot, so they stay locked in place and don’t unravel under tension.
You control knot types by choosing a compact finish that grips the cord and resists slip. Keep knot tension firm while you cinch each end, because loose wraps invite movement and wear.
After you tie it, test the knot by tugging the string from both sides; if it shifts, retie it tighter. Check the ends regularly and reinforce any weakening before it spreads.
This small step gives you durable control, protects the bag’s structure, and supports the freedom to carry it without constant repair. A secure knot keeps the drawstring centered and stable through repeated opening, closing, and load shifts.
Seal Cut Fibers
Seal the cut fibers right after trimming the drawstring ends so they don’t start to unravel. You can lock them with clear nail polish or fray block; both fiber sealing techniques form a thin barrier that binds loose threads.
If your cord is nylon or polyester, touch the tip with a lighter just enough to fuse the fibers; don’t scorch the material. For a quick hold, wrap the end with clear tape, but treat that as temporary.
Liquid tape or enamel paint gives a tougher, waterproof coat. If you want a more durable finish, slide on heat-shrinking tubing and apply heat so it grips tightly.
These fray prevention methods let you move freely without constant rework.
Use Fray Stopper
A fray stopper is a liquid coating that keeps bucket bag drawstrings from unraveling by binding the cut fibers at the ends. You apply it to protect the cord and preserve the fit, finish, and freedom of your bag.
Use these application techniques for clean results:
- Brush a thin layer onto the exposed ends.
- Squeeze a small bead onto each cut section.
- Let it dry fully before threading the cord.
The fray stopper benefits are practical: it dries clear, stays flexible, and usually survives machine washing. That means you keep the drawstring’s look while adding durable edge protection.
When you use it correctly, you extend cord life, reduce replacements, and cut waste. For a bag you rely on, that’s a precise, low-cost upgrade that keeps you moving.
Choose the Best Replacement Cord
Choose a replacement cord that matches your bag’s use: nylon or paracord gives you strength, while cotton feels softer and may suit lighter carry loads.
Cut it to the original drawstring length plus about 8 inches, and make sure it runs cleanly through the casing without binding.
Finish the ends with tight knots or fray control so the cord stays secure and doesn’t unravel during use.
Cord Material Choices
When selecting a replacement cord, match the material to how you use the bag: cotton cord feels soft and works well for casual everyday carry. Nylon offers better abrasion resistance for frequent use. Paracord delivers high strength for rugged or outdoor bags. Satin adds a decorative finish for dressier designs, and elastic gives you a snug, stretch-fit closure.
- Cotton advantages: choose it for comfort, breathability, and a natural hand against your skin.
- Nylon durability and paracord versatility: pick nylon for daily wear, or paracord when you need lighter weight with higher load tolerance.
- Satin elegance and elastic convenience: use satin for polished styling, or elastic when you want secure closure and quick access without friction.
Knotting And Fray Control
For a replacement drawstring that holds up over time, pick a durable cord such as nylon or paracord, since both resist fraying better than cotton. Seal each cut end with clear nail polish, heat, or fray block before threading, so fray prevention starts immediately. Use secure knot types like the Figure Eight or Double Knot; they grip well and won’t slip back into the casing.
| Step | Action |
|---|---|
| 1 | Seal cord ends |
| 2 | Thread the casing |
| 3 | Tie a secure knot |
| 4 | Add a cord lock or bead |
Cord locks or beads reduce wear and help you control tension with confidence. Inspect the drawstring regularly, and replace it at the first sign of abrasion.
Seal the Cord Ends Securely
Seal the cut cord ends before reattaching them to prevent fraying and weakening. Choose cord sealing techniques that match your material and your fray prevention methods must stay clean and controlled. You can lock the fibers with a few precise options:
Seal the cut cord ends before reattaching them to prevent fraying and weakening.
- Brush clear nail polish, fray block, or liquid tape onto each cut end. Let it cure fully so the outer fibers harden into a compact seal.
- For synthetic cord, briefly touch the tip with a lighter or match. Melt only the edge, then stop before you deform the cord or create brittle spots.
- If you need a quick backup, wrap the end with clear Scotch tape, or coat it with enamel paint or strong fabric glue for a tougher finish.
Work on one end at a time and keep the coating narrow. A sealed tip resists unraveling, keeps the cord tidy, and gives you a durable, liberated repair that holds up under daily use.
Thread the Bucket Bag Drawstring Through the Casing
Measure the old drawstring or the casing first so you can cut the replacement to the right length, then add about 8 inches for knots.
Next, attach a safety pin or paper clip to one end of the cord; this gives you a firm lead for clean threading methods and keeps the tip from catching inside the casing.
Feed the pin into one opening and push it through with steady pressure, guiding the drawstring as you go. Use slow, controlled movements so the cord slides smoothly, stays flat, and doesn’t twist or bunch.
These casing techniques help you maintain even tension across the channel and protect the fabric from unnecessary wear. If you feel resistance, back up slightly and realign the cord instead of forcing it.
Continue until both ends emerge from the opposite opening, then check that the drawstring moves freely and sits evenly before you move on to the next step.
Tie Stop Knots That Hold
Before you finish threading, seal each cut end with a lighter or heat tool to stop fraying, then tie a secure stop knot—such as a Figure Eight knot—at both ends of the drawstring. This locks the cord in place and keeps it from retreating into the casing. Choose knot types that stay compact yet strong, and set knot tension so each knot sits firm without distorting the cord.
Seal the cut ends, then tie compact stop knots to keep your drawstring secure and in place.
- Form each stop knot close to the sealed end.
- Size the knot so it rests snugly against the casing.
- Recheck the knots after use and retie them if they loosen.
If you need extra protection, add clear tape or a fray-blocking product before knotting. That small safeguard helps preserve function in high-use areas and keeps your bag ready for movement.
When the knots hold, you keep control, reduce maintenance, and protect your gear from avoidable failure.
Repair a Frayed Casing First
Inspect the frayed casing first, cleaning away dirt and checking for tears or weak spots so the repair will hold.
During casing inspection, open the channel fully and map every worn section before you feed the drawstring.
If you find holes, cut a fabric patch larger than each damaged area and align it over the opening.
Stitch it down with strong thread, keeping your seams tight so the patch application locks the edge and restores strength.
When the casing is badly degraded, sew a new casing from a fabric strip and attach it where the old channel failed.
Trim loose fibers, then seal the repaired edges with fray block or a small amount of clear nail polish.
Work carefully, because you deserve gear that functions under your command, not bagginess that snaps back at you.
Recheck the casing after repair, and fix any fresh fraying as soon as you spot it.
Prevent Future Fraying and Wear
To keep the new drawstring from fraying again, seal both cut ends with clear nail polish or fabric glue so the fibers can’t unravel under use. For extra protection, you can lightly melt synthetic cord ends with a lighter, but don’t touch natural fibers with heat. Choose nylon or polyester next time; they resist wear better than cotton and help you stay in control of your gear.
- Inspect the cord regularly. If you spot fuzzing, apply fray block or trim the damaged section before it spreads.
- Practice drawstring maintenance by avoiding sharp bends, overtightening, and repeated rubbing against metal hardware.
- Protect bag storage by keeping your bucket bag relaxed, filled lightly, and away from pressure that stresses the cord.
These small habits extend service life and reduce replacement cycles. With a well-sealed cord and disciplined care, you keep the bag functional, mobile, and free from avoidable damage.
Frequently Asked Questions
How to Repair a Frayed Drawstring?
Trim the frayed drawstring, seal the ends with clear polish or fray block, then retape and heat gently. Choose stronger drawstring materials, use secure knot techniques, and inspect regularly so you won’t keep repeating repairs.
How to Fix Unraveled Drawstrings?
You’ll fix unraveled drawstrings by sealing frayed ends with clear nail polish, fabric glue, or heat, then reinforce them with tape or a fray block. Good drawstring maintenance and fabric selection keep cords strong.
Can Drawstrings Be Replaced?
Yes, you can replace drawstrings like swapping a worn rope bridge for a stronger line. You’ll match drawstring materials to bag styles, remove the old cord, thread a new one, and secure the ends.
How to Replace a Drawstring Cord?
Measure the old cord, add 8 inches, and cut your new drawstring materials. Choose durable cord types like nylon or paracord. Thread it with a safety pin, knot both ends, and seal them to stop fraying.
Conclusion
When you replace your bucket bag drawstring, you restore both form and function in one clean fix. Seal each cut end, thread the cord smoothly, and tie firm stop knots so the line won’t unravel under tension. If the casing is frayed, mend it first so the new cord can glide without snagging. With a little care, you’ll keep the drawstring moving like a taut line through a stitched tunnel, ready for daily wear.