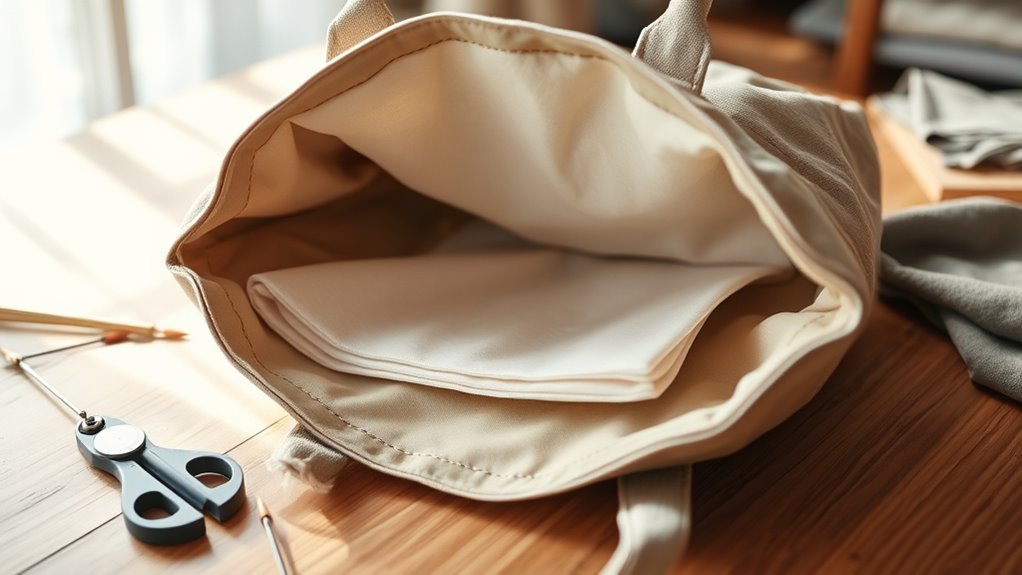
Bag foam stabilizer is a layer of soft foam, sold in sheets, that is used in sewing to give a bag body and cushioning without making it hard. It adds loft, helps panels keep their shape and protects the contents a little. It comes in fusible and sew-in versions and in several thicknesses, so choose one to match the fabric and the style.
What Is Bag Foam Stabilizer?
Bag foam stabilizer is a thin foam sheet used in sewing to add structure to bag panels. Unlike a stiff interfacing or plastic sheet, it keeps a soft, padded feel. It adds loft and some cushioning, which helps a bag stand up and resist crushing, while still allowing it to flex. You can cut it to shape, place it between the fabric and the lining, and either fuse or sew it in place. It is a handy way to improve a bag without changing the pattern.
Why Foam Stabilizer Adds Soft Structure
The foam core traps air, so it gives volume without adding much weight. When it is attached to the fabric, it spreads out stress across the panel, so the bag keeps clean lines and resists wrinkling and slouching. A fusible version bonds to the fabric with a heat-activated adhesive, so the fabric and the foam move as one layer. The result is a bag that holds its form but can still be squeezed or folded. For another soft-structure idea, see what a satchel is, where shape matters.
Which Bags Benefit From Foam Stabilizer?
- Structured totes and satchels: sides and base hold their shape. See what a tote bag is.
- Pouches and cosmetic bags: a little padding protects the contents and makes the bag stand up.
- Crossbody and small handbags: a thin layer adds body to a bag made from soft fabric.
- Camera or tech pouches: a thicker layer provides light impact protection.
Note that foam gives soft padding, and not the protection of a hard case, so do not rely on it for fragile or valuable items.
How to Choose the Right Foam Weight
- Thin foam: about 1/8 inch, good for soft totes, pouches and bags that need to fold.
- Medium foam: a balance of body and flexibility, suited to everyday bags.
- Thick foam: maximum shape and padding, but harder to sew and bulkier at seams.
Match the foam to the fabric. A light fabric, such as thin cotton, usually needs a thicker foam or an extra interfacing layer to hold its shape, while a heavy canvas may need only a thin layer. Always test a swatch to check the flex, the recovery after bending and the feel before you cut the real pieces.
Fusible Foam Versus Sew-In Foam
Fusible foam has a heat-activated adhesive on one or both sides, so you can bond it to the fabric with an iron. It speeds up assembly and keeps the layers from shifting, but you have to follow the heat instructions carefully, because too much heat can melt or flatten the foam. Sew-in foam has no adhesive. It is held in place by the stitching or basted in, which suits fabrics that cannot take heat or that need extra puffiness. Sew-in foam can shift as you sew, so baste or clip it first. Choose fusible for speed and a smooth finish, and sew-in for delicate fabrics or when you want a plush look.
How to Apply Fusible Foam
- Cut the foam to the finished pattern piece, and trim it smaller than the fabric by the seam allowance, which reduces bulk in the seams.
- Set the iron to the temperature recommended for the product, and use a pressing cloth, such as a thin cotton cloth or parchment paper, to protect the foam and your iron.
- Place the adhesive side against the wrong side of the fabric. Press from the center outward, holding steady for the time in the instructions, without sliding the iron.
- Lift the cloth and check for bubbles. Re-press any areas that did not bond.
- Let the piece cool completely before you move it, since the bond sets as it cools.
Use steady pressure and not heavy force, which can crush the foam. If the product has instructions for steam or no steam, follow them.
How to Layer Foam With Interfacing
For a firmer bag, you can combine foam with a lightweight woven or non-woven fusible interfacing. Fuse the interfacing to the fabric first, and then add the foam, pressing each layer thoroughly. Match the weight of the interfacing to the foam: a light interfacing for light foam, and a medium one when you want a firmer panel. Do not build up too many layers at the seams, and trim seam allowances, because thick seams are hard to sew. See how stitch length affects bag seam strength for sewing through thick layers.
Tips for Sewing With Foam
- Use a longer stitch length and a needle suited to thick layers.
- Use a walking foot or a roller foot, if you have one, so the layers feed evenly.
- Trim the foam out of the seam allowances, to reduce bulk.
- Clip curves and corners, and turn them carefully.
- Do not iron directly on the foam after it is covered, since heat can flatten it.
For a full construction project, how to sew a tote bag is a useful guide.
Common Foam Mistakes to Avoid
- Using too much heat, which melts or flattens the foam.
- Fusing slippery fabric without pinning or clipping it, so the layers shift.
- Leaving the foam in the seam allowances, which makes the seams bulky.
- Choosing a foam that is too thick for the pattern and the machine.
- Skipping the swatch test.
Fixing Wrinkles, Shifting and Flat Spots
Wrinkles and bubbles usually come from uneven pressing or from fabric that moved while it was bonded. If an area did not fuse, re-press it with a pressing cloth. If the layers shift when you sew, use clips and basting. A flat spot, where the foam has been crushed, usually cannot be reversed, so be careful with heat and pressure. If the foam has become detached after use, it can be re-pressed or, if the bag is already sewn, stitched through in a few places.
Alternatives to Foam
If foam is not right for your project, other ways to add body include fusible fleece, heavyweight interfacing, woven fusible interfacing or a firm lining fabric. A bag with a rigid base can use a piece of plastic or a stiff insert. Each gives a different feel, so test one on a scrap. Cut-away stabilizer, which is meant for machine embroidery, is not intended to give a bag body. For parts of a bag and where each layer sits, see handbag parts explained, and for a closure that benefits from stiffness, see how to fix a magnetic purse clasp.
Frequently Asked Questions
What Is Foam Stabilizer?
It is a soft sheet of foam, sold with or without a fusible layer, that adds body and light padding to sewn projects such as bags and pouches.
How Can I Stiffen Fabric Without Interfacing?
You can use a firm lining fabric, a double layer of fabric or a stiffening spray. For bags, an interfacing or a foam layer gives a more reliable result.
What Material Is Used to Stiffen Bags?
Foam stabilizer, fusible fleece, woven interfacing, plastic canvas or a thin board for the base. Choose according to the structure you want.
Which Fabrics Need Cut-Away Stabilizer?
Cut-away stabilizer is used for machine embroidery on stretchy or loosely woven fabric. It is not used for bag structure.
Conclusion
Foam stabilizer adds body and light padding to a bag without making it stiff. Match the thickness to the fabric, test a swatch, use the right heat and trim the seams, and you will have a bag that keeps its shape.