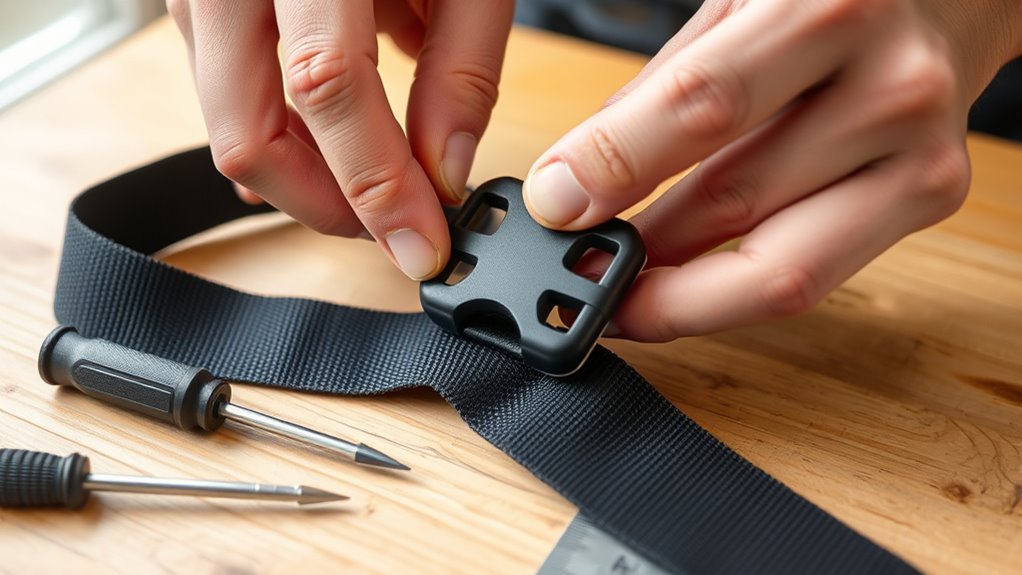
You can replace a belt bag buckle without cutting the strap if the buckle uses removable hardware. First, check for Chicago screws or snap fasteners; these let you remove the old buckle with a screwdriver or firm pressure. Match the new buckle to the strap width and thickness, then slide it on in the correct orientation. Tighten it, test the fit, and check for looseness. With a few extra steps, you can avoid common fit problems.
Identify Your Buckle Type
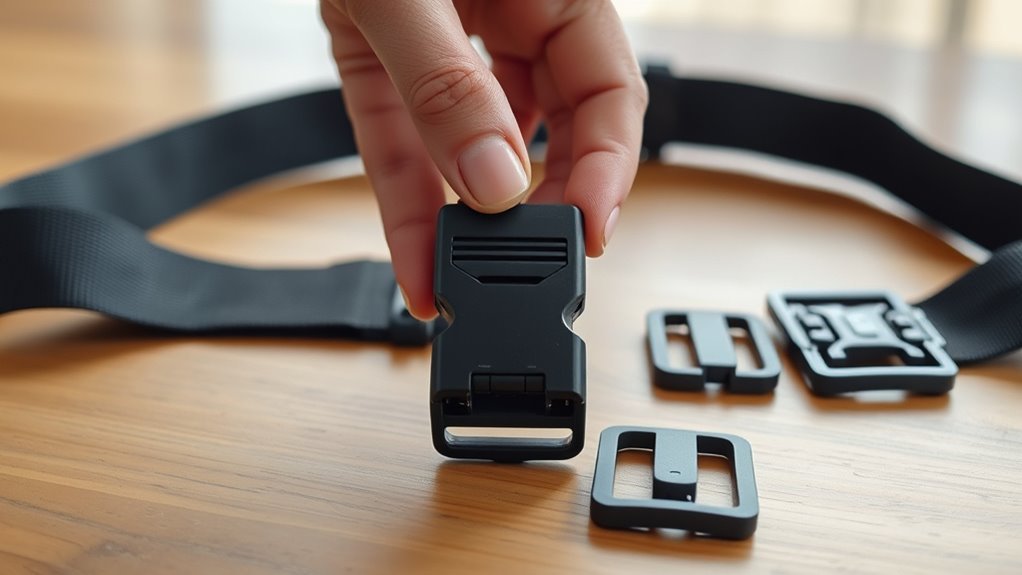
Before you replace a belt bag buckle, identify whether you have a removable or non-removable attachment. Check the strap connection closely.
If you see Chicago screws, you’ve got a serviceable setup with visible screw heads, and you can swap the buckle later with basic replacement tools. If you find a snap fastener, the buckle uses a click mechanism and usually comes off quickly without tools, which suits casual belt bags.
Match the new part to your strap width, thickness, and buckle materials so the fit stays secure and functional.
Choose a buckle that matches your strap’s width, thickness, and material for a secure, reliable fit.
If the buckle is stitched or woven into the strap, it isn’t designed for serviceable replacement. Those attachments hold the structure together, so forcing a change can weaken the belt bag.
You deserve gear that adapts to you, not hardware that locks you out. Identify the attachment first, then choose a replacement that respects the bag’s construction and your freedom to repair it.
Remove the Buckle Without Cutting
Once you’ve identified the buckle type, remove it by following the hardware’s release method instead of cutting the strap. First, confirm the buckle still functions; if it doesn’t, you’re using the right repair path.
Then locate the attachment point and act on the specific hardware. With snap fasteners, apply moderate pressure near the strap end, usually 1–2 cm in, until the snap disengages. With Chicago screws, hold the back post steady and turn the front piece counterclockwise. With ratchet clamps, press the lever, button, or tab, then pull the strap back to free the buckle.
- Check the mechanism before you force anything.
- Match your removal method to the hardware.
- Keep tension controlled to protect the strap.
These buckle maintenance tips support clean removal, while strap care advice helps you avoid fraying, distortion, and unnecessary wear.
Work deliberately, and you’ll keep your gear intact and ready for a better buckle.
Slide On the New Buckle
Align the replacement buckle with the strap width, usually 35 mm or 38 mm, then slide the strap through the correct slot in the buckle body. Keep the buckle oriented so the locking face, release tab, or bar follows the original path of travel. This keeps the strap free from twist and lets the hardware work as intended.
Choose a buckle that matches both buckle materials and design styles you already use, whether you want lightweight plastic, anodized metal, or a low-profile tactical profile.
Feed the strap steadily through the designated opening until the buckle sits flush against the webbing. Don’t force it; resistance usually means the orientation is wrong.
As you thread, keep your grip controlled and deliberate. You’re restoring function without surrendering mobility or cutting the strap, so precision matters.
Once the buckle body is in position, confirm that its parts interlock cleanly and that the strap lies flat through the assembly.
Tighten and Test the Fit
Pull the strap firmly in the direction marked by the red arrow to tighten the new buckle and lock it into place.
Then guide the strap into the strap keeper so it won’t slip and your belt bag stays stable as you move freely.
Check strap alignment inside the buckle before you rely on it; precise positioning supports durable buckle maintenance and reduces unwanted movement.
- Tug the strap gently to confirm the buckle holds under normal handling.
- If the fit feels loose, repeat the tightening step and recheck alignment.
- Inspect the buckle regularly for wear or looseness to keep it functional.
A secure fit lets you carry essentials without distraction or restraint.
When the buckle feels solid, your bag works with you, not against you, and you keep control of your gear with confidence.
Fix Common Fit Problems
If the fit still feels off, choose the fix that matches the problem: use a buckle with adjustable prongs or add strap holes for a loose fit, and consider a buckle with the right width and thickness for straps that won’t line up correctly.
If the buckle slides, add a friction insert made from rubber or silicone so it grips without changing the strap.
When holes and prongs still miss each other, switch to a buckle style that fits your strap compatibility and current thickness.
Match the buckle width to the strap to prevent twisting, pressure points, and loss of function.
Check buckle materials too; a stiffer body may hold better, while a softer one can flex with motion.
After each adjustment, test the engagement with light layers and bulkier clothing. You want freedom of movement, not a setup that fights your body.
Recheck the fit during walking, sitting, and bending to confirm it stays secure.
Frequently Asked Questions
Can You Replace a Buckle on a Belt?
Yes, you can replace a buckle on a belt if you’ve got removable buckle types and compatible strap materials. You’ll undo Chicago screws, snaps, or ratchet clamps, then fit the new buckle securely, without cutting.
How to Fix a Broken Bag Buckle?
You can fix a broken bag buckle fast: nearly 60% of repairs hinge on matching buckle types and strap materials. You’ll inspect, release, and swap the part, keeping your bag functional, adaptable, and free.
How to Replace Overall Buckles Without Sewing?
You replace overall buckles without sewing by matching buckle types, then opening the release, screw, or snap mechanism. Thread the strap materials through the new buckle, secure it, and test alignment for a safe, liberated fit.
How to Replace a Belt Buckle Prong?
Verily, you replace the prong by identifying buckle types, removing the fastener, and fitting a matching prong. You’ll protect strap materials, secure the new part tightly, and test it for firm, liberated function.
Conclusion
Now you’ve got the whole buckle swap down, and your belt bag should feel practically reborn. You identified the buckle, removed it without a single strap casualty, slid on the new one, and tightened everything until it sat like a lock on a vault. If fit issues pop up, you can fix them fast, like a pro with a toolkit. Give the strap one last test, and you’re ready to carry on with total confidence.