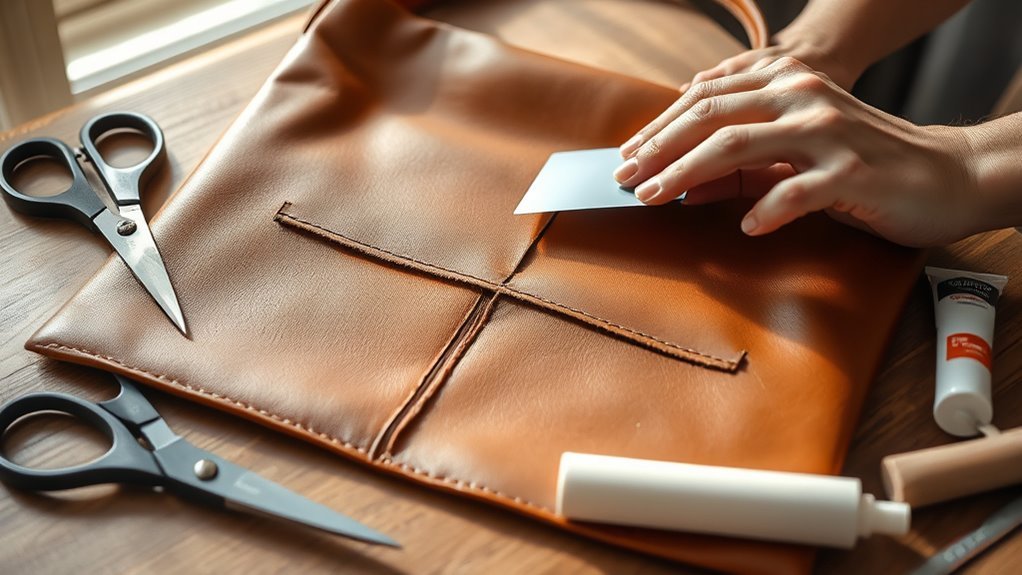
Clean the tear, trim frayed edges, and check that it’s under about 3 inches so a backed patch can hold. Cut a flexible patch slightly larger than the damage, coat it with faux-leather-safe glue, and slide it behind the tear. Press the faux leather flat, weight it evenly, and let it cure 12–24 hours. Then stitch near stress points if needed and blend the surface with matching repair paint; you can refine the finish further from there.
Why Faux Leather Bags Tear
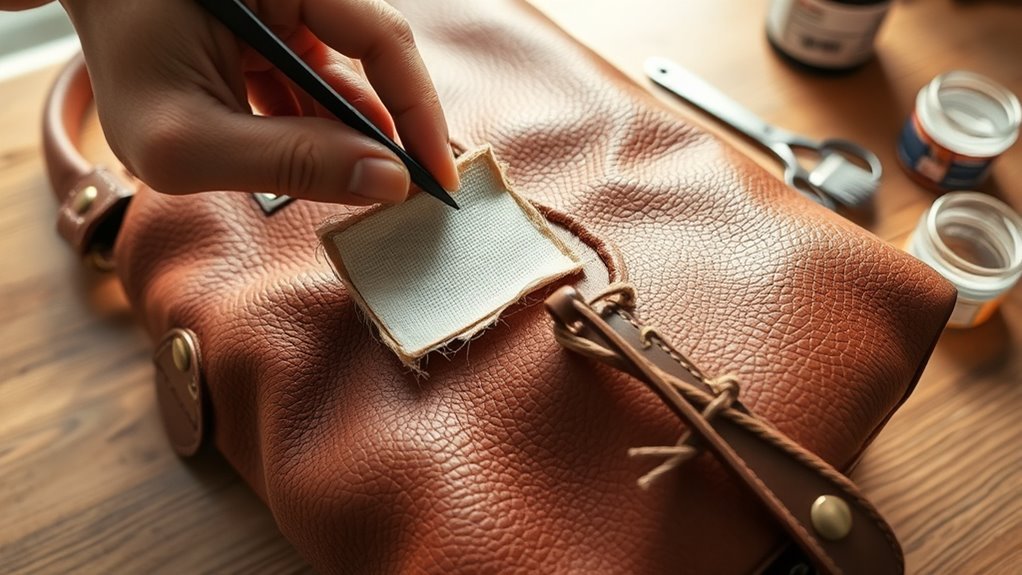
Faux leather bags tear because the material is less durable than genuine leather, so normal wear and stress can break it down over time.
You’ll see lower faux leather durability in PU and PVC constructions, especially when the surface coating and backing are thin. Sunlight and heat dry the material, then cracks form and spread under flexing.
If you overload the bag, store it crushed, or let it lose its shape, you concentrate stress at seams, handles, and fold lines. Harsh cleaners and solvents also attack the finish, weaken the fibers, and reduce tear resistance.
When you choose a bag, inspect the grain, backing, and stitching quality, because better construction usually lasts longer.
You can extend service life by keeping it shaded, clean with mild products, and supporting its structure during storage. That care also lowers environmental impact by reducing early replacement and waste.
See If a Backed Patch Will Hold
Check the tear size first, and make sure the backed patch overlaps the damage enough to reinforce the edges.
After you clean the area and apply a faux-leather-compatible adhesive, press the patch firmly and let it cure. Then test the bond under light pressure.
If the hold feels weak, add stitching around the patch to improve retention and prevent the tear from spreading.
Assess Tear Size
Start by measuring the tear to see whether a backed patch can hold the damage securely without weakening the bag’s structure. In this tear assessment, you need clear damage evaluation, not guesswork. Use the guide below to judge repair viability:
| Tear size | Action |
|---|---|
| Under 1 inch | Backed patch usually holds |
| 1 to 3 inches | Patch can work if backing is sturdy |
| Over 3 inches | Reinforcement or pro repair needed |
Check that the backing material is firm enough to resist further tearing and supports movement without stress. Clean debris from the area before any repair so the surface stays prepared. If the tear is small to medium, you can reclaim the bag’s function with precision and confidence. Larger damage may outmatch a simple patch and demand stronger intervention.
Test Patch Adhesion
Before you commit to the repair, clean the torn area thoroughly with a soft cloth to remove dirt and oils. Then test the patch on a small, inconspicuous spot to confirm the adhesive bonds well without causing discoloration or surface damage.
This patch testing step gives you a clear adhesion evaluation before you place the patch on the visible tear. Use a strong adhesive made for faux leather, and press the sample patch firmly so it sits flat. If the backing lifts, slips, or stains, choose a different adhesive or patch material.
When the test holds cleanly, you can move forward with confidence. Keep the sample in place for the full cure time listed by the manufacturer, usually 24 hours, so you know the bond can support daily use.
Reinforce With Stitching
To reinforce a torn faux leather bag with a backed patch, choose a patch that’s slightly larger than the tear so it fully covers the damage and spreads stress beyond the weakened area. Apply fabric glue first, then press the backing flat so it won’t shift. Use stitch techniques that keep control in your hands.
| Option | Purpose | Result |
|---|---|---|
| Strong thread | Locks the patch | Better hold |
| 1/8-inch spacing | Balances tension | Less re-tearing |
| Thick-material needle | Penetrates cleanly | Cleaner seams |
| Backing layer | Adds stability | Stronger repair |
Select thread types built for durability, then sew steadily around the patch perimeter. Keep each stitch even and tight, especially near handles or other stress points. Your repair should free the bag from further tearing and let it work again.
Gather Faux Leather Repair Tools
Gather a sewing needle and thread, fabric scissors, a clean soft cloth, wax paper, and a heat source if you’ll use iron-on patches.
Choose patch material that matches your bag’s faux leather in color and texture, and use faux-leather-safe fabric glue when sewing isn’t required.
Set up your workspace with wax paper before applying glue so you can protect the surface and keep the patch from sticking where it shouldn’t.
Essential Repair Tools
Start by collecting the right repair tools so you can make a clean, durable fix. You’ll need a sewing needle and strong thread that matches the faux leather color, so your stitching stays discreet and stable.
Keep fabric scissors ready to trim frayed edges and square the tear for a precise patch seat. Select a backed patch that matches the bag’s texture and tone, then pair it with fabric glue or another strong adhesive for secure bonding.
Use a clean cloth to press the patch evenly, remove air bubbles, and reinforce contact. These tools support disciplined repair techniques and practical maintenance tips, helping you restore the bag with control, confidence, and less dependence on replacement.
Patch Materials And Glue
Choose a backed faux leather patch that closely matches your bag’s texture and color, and use a flexible adhesive such as fabric glue or a specialized leather glue so the repair can move with the bag without cracking.
Your patch types should prioritize similar grain and thickness for a seamless finish.
- Cut the patch at least 1 inch larger than the tear on all sides.
- Clean the damaged area thoroughly to remove dirt and oils.
- Compare adhesive options and choose one that cures flexible, not brittle.
- Press the patch firmly, then let it cure for 24 hours.
This method gives you control, keeps the bag functional, and supports a clean, lasting repair without surrendering style or strength.
Clean and Trim the Torn Edges
Wipe the torn area with a soft cloth to remove any dirt or debris that could weaken the repair.
Then inspect the tear closely and trim away frayed fibers or jagged vinyl with sharp scissors. Keep your cuts controlled so you create a clean perimeter without enlarging the damage.
Trim away frayed fibers or jagged vinyl with sharp scissors to create a clean perimeter without enlarging the tear.
This edge smoothing step reduces irregularities that can telegraph through the patch and compromise the finish. If the tear still feels rough, lightly sand the border with fine sandpaper to refine the surface and improve bond strength.
Stop as soon as the edge feels even; overworking it can thin the material unnecessarily.
Check patch alignment by confirming the trimmed sides meet cleanly and sit level against each other. A straight, uniform edge lets the backed patch seat more securely and helps the repair look intentional rather than patched over.
Cut the Backed Patch to Size
Measure the torn area carefully, then cut a backed patch so it extends slightly beyond the damage for a secure fit and easy adjustment during application. Use precise cutting techniques so you can shape the patch without wasting material or weakening patch durability.
Keep these steps tight:
- Measure the tear’s length and width, then add a small margin on all sides.
- Match the patch thickness to the faux leather, or choose one slightly thicker for better support.
- Cut with sharp scissors or a craft knife to keep the edge clean and free of fraying.
- Round each corner slightly so the patch resists lifting and peeling later.
When you size the patch this way, you control the repair with confidence and protect the bag’s structure. A clean, accurate cut gives you the freedom to move forward without correction-heavy fitting.
Keep the shape simple, the edges smooth, and the coverage exact enough to cover the damage while staying discreet.
Glue the Patch Behind the Tear
Apply a thin layer of strong fabric glue or a faux-leather-safe adhesive to the back of the patch, following the product’s instructions. Then slide the patch behind the tear and align it so the damaged edges sit flat over it.
Clean the torn area first so dust or residue doesn’t weaken the bond. Your adhesive selection matters: choose a product rated for faux leather, flexible when cured, and strong enough to hold under daily use.
Check patch placement from the front before you commit, making sure the color and texture match closely and the tear lies centered over the patch.
Once positioned, press the bag material onto the glued patch with steady, even pressure to maximize contact and reduce trapped air. Keep the edges aligned and avoid shifting the patch after contact.
Let the bond cure fully according to the label—usually 24 hours—so you can reclaim the bag with a repair that’s secure, discreet, and ready for freedom.
Press, Dry, and Set the Repair
Press a heavy book or flat weight over the patched area for at least 30 minutes to help the adhesive bond securely and evenly. Use steady press techniques so the patch seats flat and the bond forms without gaps. Then keep the bag still through the full drying time.
- Apply firm, even pressure.
- Hold it in place 30 minutes minimum.
- Leave it undisturbed for 12–24 hours.
- Check the edges for any lift.
During drying time, don’t flex, fold, or load the bag; movement can shift the patch and weaken adhesion.
During drying time, avoid flexing, folding, or loading the bag so the patch stays set and bonds securely.
After the adhesive cures, inspect the perimeter closely. If you spot any lifting, add a small amount of adhesive and press again until sealed. This method gives you a controlled repair that holds fast and supports your freedom to use the bag without constant worry.
For added durability, you can later apply flexible leather paint once the patch has set.
Blend the Faux Leather Surface
Once the patch is fully set, use fine sandpaper to lightly smooth the patch edges and the surrounding faux leather so the repair blends into the bag’s surface. Keep your pressure minimal; you’re refining the seam, not cutting it. Then select a matching leather repair paint or acrylic paint and prepare for texture matching through controlled paint layering.
| Step | Action | Result |
|---|---|---|
| 1 | Sand edges gently | Soft shift |
| 2 | Dab thin paint coats | Color alignment |
| 3 | Let each coat dry | Even finish |
Use a sponge or soft cloth to dab paint over the patched area, letting you mimic the original grain instead of brushing hard lines into place. Apply multiple thin coats, waiting about 30 minutes between layers so each one sets cleanly. Keep your strokes light and deliberate. Once the final coat dries, you can add a flexible topcoat to seal the finish and restore a subtle sheen that reads as whole, intentional, and free from visible repair.
Prevent Future Faux Leather Tears
To keep the repair from failing again, inspect your faux leather bag regularly, especially at seams, strap anchors, and handle attachments where stress builds first. That’s preventative maintenance: you spot abrasion, lifting, or edge cracking before a tear opens.
Use this routine:
- Store it in a cool, dry place away from sunlight and heat.
- Clean it gently with a soft cloth and faux leather cleaner.
- Apply a protective spray made for faux leather to block moisture and dirt.
- Avoid overloading it, so seams and handles don’t take excessive strain.
This material care keeps the surface flexible and the backing intact.
When you handle your bag with intention, you protect your time, money, and mobility. Check it after heavy use, and re-treat it when water no longer beads. Consistent care prevents small flaws from turning into another split.
Frequently Asked Questions
Can You Sew Onto Faux Leather?
Yes, you can sew onto faux leather if you use proper sewing techniques and compatible patch materials. Choose a leather needle, strong polyester thread, and a walking foot, then test your settings on scrap first.
How to Repair a Ripped Bag?
You can mend the wound like a bridge: clean the tear, slide in a glued backing patch, press firmly, stitch tight edges, then color-match. These bag maintenance tips and patching techniques free your bag again.
How to Fix Damaged Faux Leather?
You fix damaged faux leather by cleaning it, trimming loose bits, then applying patching techniques with matching material and strong glue. Your faux leather maintenance stays durable when you press firmly, let it cure, and retouch color.
Will Mod Podge Stick to Faux Leather?
Yes, Mod Podge can stick to faux leather if you clean it well and apply thin coats. For stronger repairs, compare adhesive alternatives and choose patch materials suited to the stress area.
Conclusion
By following these steps, you can repair your torn faux leather bag with a backed patch and restore both strength and appearance. You’ve cleaned, aligned, glued, and blended the tear so the fix bonds securely and looks far less noticeable. If you inspect wear early and handle the bag gently, you’ll greatly extend its life. This simple repair can feel almost miraculous, but it’s really just careful preparation and precise execution.