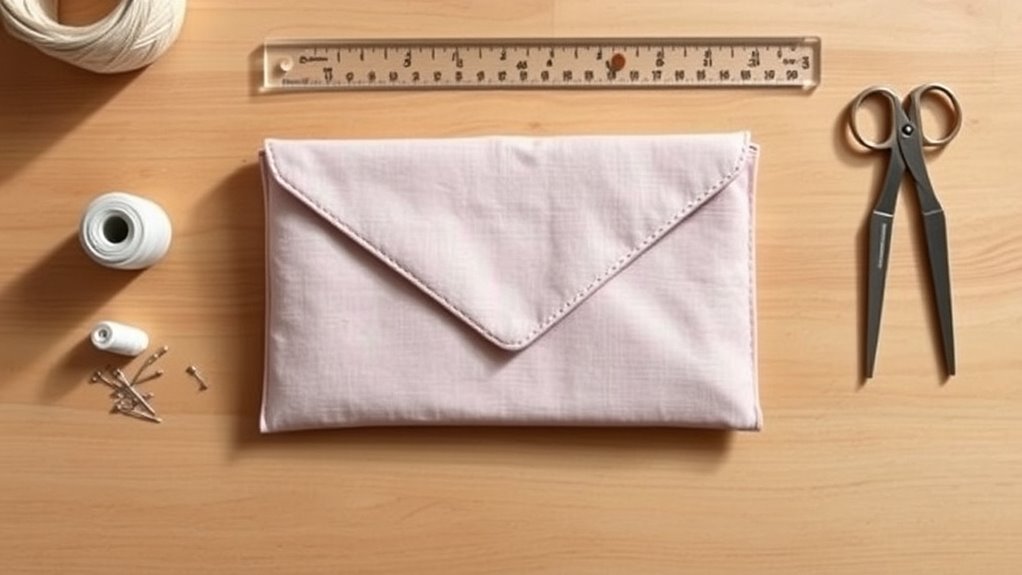
To sew an envelope clutch with a clean folded flap, make one long lined panel and fold it in three. Join the flap fabric to the main fabric, fuse interfacing to the back, and sew this outer panel to the lining with right sides together, leaving a small gap. Turn it right side out, press, and topstitch the bottom edge. Fold that edge up to form the pocket, stitch the sides, and press the flap down along a sharp fold.
What You Need for an Envelope Clutch
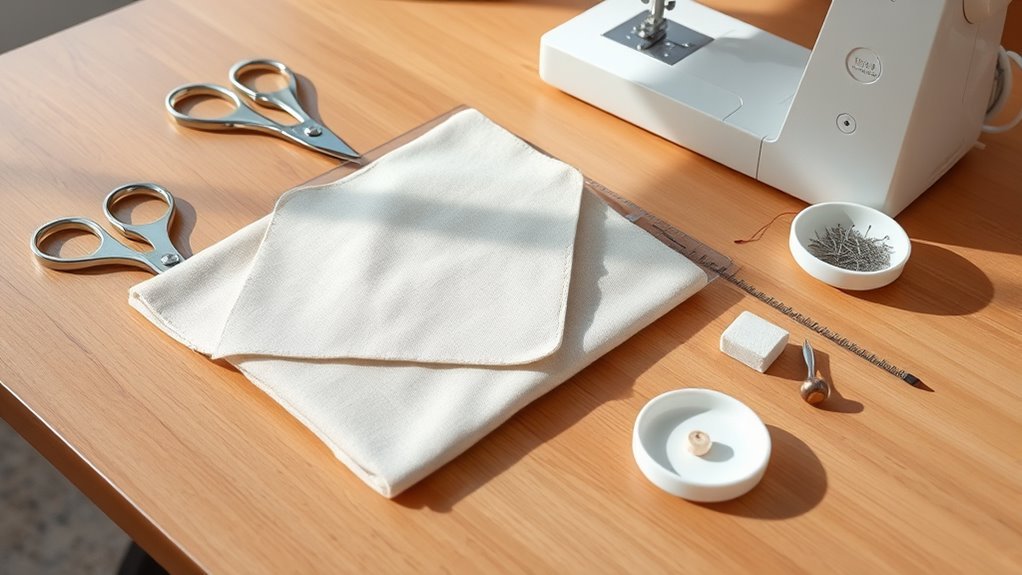
You need a main fabric, a flap fabric, a lining, and fusible interfacing. Medium-weight cotton, such as quilting cotton, is the easiest to sew. Canvas and denim also work and give a firmer clutch.
Cut a main piece 13 by 20 inches, a flap piece 13 by 6 inches, and a lining 13 by 26 inches. The flap can be the same fabric as the main piece or a contrast. You also need matching thread, pins or sewing clips, scissors or a rotary cutter, a ruler, and an iron.
Wash, dry, and press cotton fabrics before you cut, so the finished clutch does not shrink or pucker later.
All seams in this guide are 3/8 inch unless stated otherwise.
Cut the Main Fabric and Lining
Cut the main piece 13 by 20 inches and the lining 13 by 26 inches. Cut the flap piece 13 by 6 inches.
Cut along the straight grain of the fabric, so the clutch does not twist.
A rotary cutter, ruler, and cutting mat give the straightest edges. Sharp scissors and a marked line also work.
Main Fabric Cut
The main piece forms the front and back of the pocket. Check that it measures 13 by 20 inches and that the corners are square.
If your fabric has a one-way print, decide which short end will join the flap before you sew. Fold the piece the way the clutch will fold and check how the print sits on the front and back.
Press the piece flat before you go on. A few tips:
- Measure twice, cut once.
- Keep edges square and even.
- Smooth wrinkles with firm pressing.
- Reinforce if you want more structure.
Lining Fabric Cut
The lining is one piece, 13 by 26 inches. It will be trimmed to match the outer panel after the flap is joined.
Choose a lining of similar weight to the outer fabric. A plain cotton in a contrast color looks good when the flap opens.
Wash and press it the same way as the outer fabric.
Cut it with the same care, since the lining edges set the shape of the finished clutch.
Set the lining aside for now. You will pin it to the outer panel later.
Cut the interfacing next: one piece for the main fabric and one for the flap.
Fuse the Interfacing
Place the fusible interfacing on the wrong side of the main piece, glue side down. Do the same with the flap piece. Interfacing gives the clutch body and helps the flap hold a sharp fold. Use medium-weight interfacing for quilting cotton, and a lighter one for canvas.
- Trim the interfacing to match the main fabric exactly.
- Press with a medium-heat iron for 10–15 seconds.
- Use firm pressure, not sliding, to bond it cleanly.
- Let the piece cool fully so the fuse sets.
To reduce bulk in the seams, you can cut the interfacing 3/8 inch smaller on every side, so it stops at the seam line. Trim away any that hangs over the edge.
Let the pieces cool flat before you move them. Warm interfacing can shift or bubble.
Sew the Clutch Exterior and Lining
Now build the outer panel. Place the flap piece on one short end of the main piece, right sides together, with the 13 inch edges matched.
Sew that edge with a 3/8 inch seam and press the seam open. You now have one outer panel, 13 inches wide and about 25 1/4 inches long. Lay it on the lining and trim the lining to the same size.
Place the outer panel and the lining right sides together and pin all around. Sew around all four sides with a 3/8 inch seam. Leave a gap of 3 to 4 inches in the middle of the short end that is main fabric, not flap. Backstitch on both sides of the gap.
Clip the four corners diagonally, close to the stitching but not through it. This lets the corners turn out sharp.
Turn and Close the Panel
Reach through the gap and pull the whole panel right side out.
Push out each corner with a chopstick or point turner. Roll the seams between your fingers so the lining does not peek out, and press the panel flat.
Tuck the raw edges of the gap inside so they line up with the seam, and press.
Leave Turning Opening
The gap needs to be 3 to 4 inches, big enough to turn the panel without straining the stitches.
Putting it on the main-fabric short end keeps it out of sight. That edge becomes the top of the pocket, and the topstitching there will close it. A few pointers:
- Pin or clip around the opening before you stitch.
- Turn the clutch carefully through the gap.
- Push out the corners gently for crisp edges.
- Close the opening with a slip stitch or machine stitch.
Backstitching at each side of the gap stops the seam from opening as you turn.
Turn the Panel Right Side Out
Turn slowly, working the fabric through a little at a time. Push out all four corners with a blunt tool. Do not use scissor tips, which can poke through.
| Step | Action |
|---|---|
| 1 | Turn the panel right side out through the gap |
| 2 | Push out corners and press flat |
| 3 | Tuck in the gap edges and press |
Press the panel from the lining side first, then the outer side. The edges should be flat and crisp, with the seam right on the edge.
Slipstitch Opening Closed
You can close the gap in two ways. The topstitching in the next step will close it by machine. If you want no visible stitching there, close it by hand with a slipstitch first.
For a slipstitch, take a small bite inside one folded edge, then a small bite inside the other, and pull the thread snug every few stitches. The thread disappears into the folds.
Tips for a neat hand finish:
- Match thread to lining.
- Hold folds crisp and aligned.
- Stitch from one end to the other.
- Press after closing for flat seams.
Press again after closing. The panel should now look finished on both sides.
Topstitch the Pocket Edge
Topstitch across the short end that had the gap, about 1/8 to 1/4 inch from the edge. This edge will be the top of the pocket, so it shows when the flap is open.
Use a straight stitch slightly longer than normal, about 3 mm, and sew slowly so the line stays even. Check that the stitching has caught both folded edges of the gap.
On thick fabric, a walking foot helps the layers feed evenly.
Press again to set the stitches.
Fold and Sew the Sides
Lay the panel flat with the lining facing up and the topstitched edge nearest you. Fold that edge up until it sits just below the seam where the flap fabric begins. This forms a pocket about 9 1/2 inches deep, with the lining inside it and the flap left free above it. Check that the sides line up, and clip them in place.
Topstitch up one side, about 1/8 inch from the edge. Start at the bottom fold and backstitch well at the top of the pocket, since that corner takes the most strain. For a matching finish, keep sewing around the flap edges and down the other side in one pass. A denim needle helps with the thick layers at the corners.
The finished clutch is about 12 inches wide and 9 1/2 inches tall when closed.
Press and Shape the Flap
Fold the flap down over the pocket and line up its edges with the sides of the clutch. Press along the fold with steam. Then hold something flat and heavy on the fold, such as a wooden clapper or a thick book, until the fabric cools. Cooling under pressure is what sets a sharp crease.
Check that the flap sits square, with the same overlap on both sides. More tips for a crisp flap:
- Place a pressing cloth over delicate fabric.
- Use a tailor’s ham to shape curved areas.
- Add light fusible interfacing for extra structure.
- Press again after folding to lock in the shape.
If the flap springs open, add a closure. A magnetic snap or a sew-on snap under the flap holds it shut.
Give the whole clutch a final press, and it is ready to use.
Frequently Asked Questions
How Do I Choose the Best Fabric for a Clutch?
Pick a medium-weight woven fabric that presses well, such as quilting cotton, canvas, or denim. Add interfacing to lighter fabrics. Thin or slippery fabrics such as satin are harder to keep square and are better left for a later project.
Can I Add a Magnetic Snap Closure?
Yes. Fit the snap before you sew the outer panel to the lining. Put one half on the lining side of the flap and the other half on the outer front of the pocket, each backed with a scrap of interfacing. Mark the positions by folding the pieces into their final shape first.
What Size Should the Finished Clutch Be?
The cut sizes in this guide make a clutch about 12 inches wide and 9 1/2 inches tall. For a smaller one, cut every piece narrower and shorter in proportion. A clutch around 10 by 6 inches still holds a phone, cards, and keys.
How Do I Make the Flap Point Sharper?
For a pointed flap, sew to the point, take one stitch across the tip instead of pivoting on it, and sew away. Trim the seam allowance close at the tip. Turn the flap and ease the point out gently with a point turner, then press.
Can I Use Batting Instead of Interfacing?
Yes, for a soft, padded clutch. Use thin fusible fleece and trim it out of the seam allowances. The flap fold will be rounder and less crisp than with interfacing.
Conclusion
An envelope clutch is one lined panel folded in three. Accurate cutting, clipped corners, and careful pressing do most of the work. Press the flap fold with steam and let it cool under weight, and the flap will stay clean and sharp.