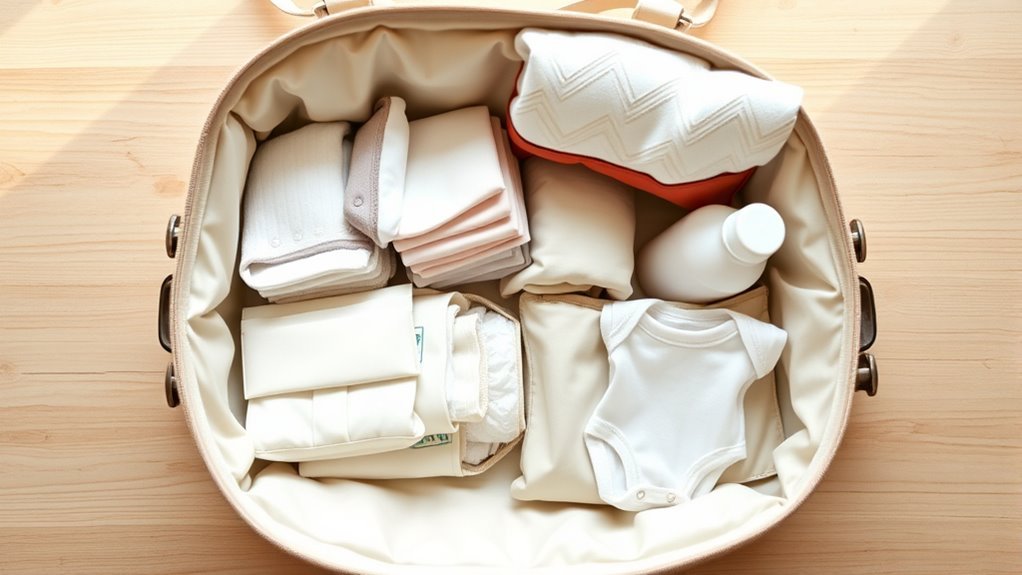
Organize your diaper bag by creating clear zones for changing, feeding, and your own essentials, then keep each group in labeled pouches. Put diapers, wipes, cream, and a changing pad in a quick-grab pocket, and use a waterproof pouch for soiled items. Add bottles, snacks, bibs, and burp cloths in a separate feeding zone. Keep keys, phone, and sanitizer in one zippered pocket, and you’ll be set for smoother outings.
How to Organize a Diaper Bag Fast
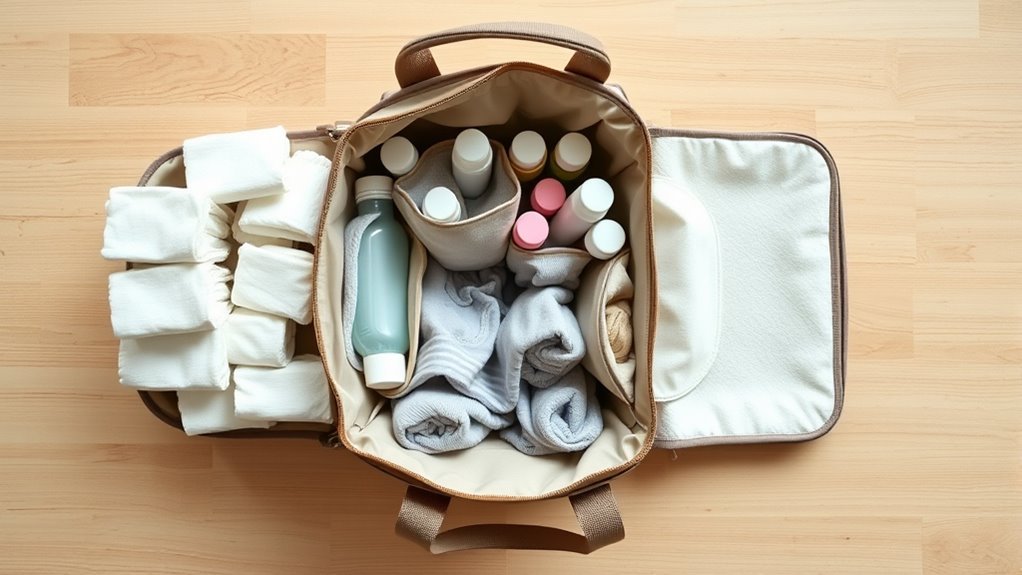
Need to grab what you need in a hurry? Set up your bag with clear zones so you can move fast and stay calm. Use one area for changing, one for feeding, and one for emergency essentials.
These diaper bag hacks support efficient packing and help you avoid digging around while your little one waits. Group diapers, wipes, and snacks in clear, labeled pouches so you can spot them at once.
Group diapers, wipes, and snacks in clear, labeled pouches so you can spot them at once.
Keep a quick-grab pocket for the items you reach for most, like diapers and wipes. Put soiled items in waterproof pouches, and keep bottles in insulated compartments to protect freshness and comfort.
After each outing, restock what you used so you’re ready to go again. Give yourself a 10-second test: can you find each essential fast? If not, adjust the layout until your bag works for you, not against you.
Pick Diaper Bag Organizers
Pick organizers that fit your diaper bag’s shape and size so every inch works harder for you. Measure the interior first, then choose pieces that match your diaper bag types and keep the fit snug, not bulky.
Clear mesh pouches help you spot wipes, creams, or snacks fast, so you spend less time digging and more time moving. For soiled clothes or cloth diapers, use waterproof wet bags to contain messes and protect everything else.
If you carry an open tote, structured inserts add vertical compartments that keep items standing upright and easier to grab. Pay attention to organizer materials too; lightweight, wipeable options support daily use without adding stress.
When your organizers fit your bag and your routine, you reclaim calm, save time, and stay ready for whatever the day asks of you. Choose what serves you, not what clutters your load.
Pack the Changing Station First
Start with the changing station so the basics are always ready when you need them most. Pack diapers first: bring one for every two hours you’ll be out, plus an extra, so you’re covered for surprise changes.
Then add travel-sized wipes and diaper cream, and keep them in an easy pocket or at the top of the bag. That way, you won’t dig when your hands are full.
Include a portable changing pad and choose changing pad placement that lets you grab it fast—flat against the bag’s interior or in an exterior pocket works well.
Use a dedicated pouch for these diaper bag essentials to keep everything contained and clean. This simple setup saves time, lowers stress, and gives you more freedom to move through your day.
After each outing, restock the station right away so your bag stays ready for the next trip.
Set Up a Feeding Zone
Set up a feeding zone so mealtimes are easier when you’re away from home. Choose one pouch or compartment for feeding essentials like clean bottles, formula dispensers, or breast milk bags, so you can grab what you need fast.
Add clean bibs and burp cloths for simple hygiene management and fewer messy surprises. If you carry bottles, use insulated pockets for temperature control so milk or formula stays fresh longer.
Add clean bibs and burp cloths for simple hygiene management, and use insulated pockets to keep milk fresh longer.
Keep snacks in a separate, spill-proof pouch for easy snack storage that won’t leak into the rest of the bag. This setup helps you move through feeds with less stress and more freedom.
After each outing, do regular restocking so your feeding zone stays ready for the next trip. A little reset now saves you from scrambling later, and it supports calmer, more confident care wherever you go.
Keep Parent Essentials in One Pocket
Keep your keys, phone, wallet, and hand sanitizer in one dedicated pocket so you can grab them fast when you’re on the go.
Choose a zippered spot on the front or outside of the bag to keep everything secure and easy to reach.
A small pouch inside that pocket can help you stay organized and cut down on clutter.
Parent Essentials Pocket
Designate one pocket in your diaper bag for your own essentials so you can grab what you need fast when you’re out with baby.
This simple diaper bag organization move keeps your parent pouch essentials together and cuts stress in busy moments.
Choose a front or side pocket you can reach without digging. Use small pouches or Ziploc bags to separate items, so clutter stays contained.
Slip in a waterproof pouch to shield your things from leaks or spills.
Restock this pocket often with hand sanitizer, a compact first-aid kit, and any personal necessities you rely on.
When you keep your essentials in one clear spot, you move with more ease, protect your energy, and stay ready for whatever the day brings.
Keys Phone Wallet
Tuck your keys, phone, and wallet into one dedicated pocket so you can grab them fast when you’re juggling baby and bags. This simple parent organization move keeps your essential checklist lean and stress low.
Choose a zippered or easy-reach compartment, and slide a small pouch inside to separate items. That way, you won’t dig around when you need your phone or wallet now. After each outing, restock the pocket so it stays ready for the next errand.
If your bag has an insulated or water-resistant parent pocket, even better—it helps shield valuables from spills and moisture.
- keys stay put
- phone’s easy to find
- wallet won’t vanish
- less rummaging, more freedom
- quick reset after trips
Quick Grab Storage
Once you’ve set aside a spot for your keys, phone, and wallet, use the next easiest pocket for quick-grab items like hand sanitizer, snacks, and other small parent must-haves.
Pick a front or side pocket so you can reach in fast without digging through everything. Keep diapers and wipes in the compartment next to it for quick access during changes.
For efficient organization, tuck small items into clear pouches so you can spot what you need at a glance. This setup saves time, reduces stress, and helps you move through outings with more ease and freedom.
After each trip, restock the pocket right away so you’re always ready for the next feed, diaper change, or busy moment.
Pack Clothes and Comfort Items
Pack at least one extra change of clothes for your baby, including a onesie, pants, and a bib, so you’re ready for spills or diaper accidents.
For smart clothes organization, tuck the clean set into a Ziploc bag and keep dirty items separate after a change. That simple split saves time and keeps your bag from feeling chaotic.
Use comfort item selection with care: pack a lightweight blanket, a favorite toy, or a pacifier that helps your baby settle on the go. Choose pieces you can wash, carry, and trust.
- Fresh onesie
- Spare pants
- Clean bib
- Lightweight blanket
- Favorite pacifier
Keep these soothing items ready for calmer shifts and warmer naps. Check them often so they stay clean, usable, and easy to grab.
With a little prep, you move through outings with more ease, more confidence, and more freedom.
Set Up Quick-Grab Pockets
Set aside one quick-grab pocket for the items you reach for most often, like diapers, wipes, and milk, so you can handle changes and feeds fast.
Place it on the front or side of the bag for a quick access design that lets you reach in without digging. Keep this space lean: only the essentials belong here, so you can move with ease and avoid clutter.
Place essentials in a front or side pocket for quick access, and keep it light to avoid clutter.
Use clear pouches for essential item identification, helping you spot what you need at a glance when time feels tight.
After each outing, take a moment to restock the pocket and reset it for the next trip. This small routine keeps you ready, reduces stress, and gives you more freedom to focus on your baby instead of your bag.
When your diaper bag works with you, every outing feels lighter and more manageable.
Avoid Common Diaper Bag Mistakes
A well-organized diaper bag can still slow you down if you make a few common mistakes. Keep your diaper bag organization simple by grouping items by task, so you’re not digging through a mixed-up pile when a change or feed can’t wait.
Practice essential item prioritization: pack only what you’ll use, then refill what’s gone.
- Don’t cram in extras you won’t need today
- Skip unlabeled pouches that hide supplies
- Restock diapers and wipes right after use
- Keep fast-reach items in one dedicated pocket
- Sort by change, feed, and clean-up tasks
When you avoid clutter and confusion, you save time, cut stress, and move with more freedom.
A lighter bag also helps you stay calm and responsive, even when your baby needs you now.
Adapt Your Diaper Bag for Outings
You can adapt your diaper bag for each outing by packing for the weather and the length of your trip.
Add outing-specific essentials like sunscreen, a hat, a light blanket, or extra layers so you’re ready for changing conditions.
Keep the items you’ll need first easy to reach, and restock them as soon as you get home.
Climate-Ready Packing
When the weather shifts, your diaper bag should shift with it. Use climate considerations to guide what you pack, and practice temperature management so your baby stays comfortable without extra hassle.
In heat, choose lightweight clothing, breathable fabrics, and a compact umbrella for shade. Add baby-safe sunscreen and a sun hat for UV protection.
In humidity, pack moisture-wicking layers and an extra outfit so you can swap out damp clothes fast.
For cooler days, bring a warm blanket and insulated bottle holders with gel ice packs to help keep liquids stable.
- Lightweight layers for hot days
- Breathable, moisture-wicking fabrics
- Baby-safe sunscreen and sun hat
- Warm blanket for cold weather
- Check the forecast before you leave
Outing-Specific Essentials
Once you’ve adjusted for the weather, tailor your diaper bag to the outing itself. For a day trip, pack enough for changing, feeding, and emergencies without hauling extra weight. That keeps you free to enjoy your plans.
| Item | Why it helps |
|---|---|
| 5–6 diapers | Covers diaper changes on longer outings |
| Travel-size wipes | Cleans quickly anywhere |
| Change of clothes | Handles spills and surprises |
| Spill-proof snack pouch | Offers easy-to-eat snack options |
| Insulated compartment | Keeps bottles or milk safe |
Use a quick-access pocket for pacifiers, hand sanitizer, and your phone. For outdoor activities, add a blanket or extra sunscreen if needed. Check the outing’s duration and pace, then pack only what supports your baby’s comfort and your movement.
Test Your Diaper Bag Setup
How well does your diaper bag setup work in real life? Run test scenarios before you need them. Simulate a quick outing and see if you can grab diapers, wipes, and a bottle in under 10 seconds without rummaging. That efficiency evaluation shows what’s easy and what’s slowing you down.
- Keep a Changing Station zone together.
- Group bottles, snacks, and water in Feeding and Hydration.
- Use labeled pouches so you spot items fast.
- Restock right after each use.
- Move critical items if the test exposes delays.
After each drill, adjust the layout to match your routine, not someone else’s. Put your most used supplies where your hand lands first.
When you organize for speed, you protect your energy and your peace. You’re not being extra; you’re making care more manageable, so you can move through outings with more freedom and less stress.
Frequently Asked Questions
Which Diaper Bag Is the Most Organized?
The most organized diaper bag is one with diaper bag features like separate pouches, zippered pockets, and insulated sections; Tote Savvy and Rebecca Minkoff excel. You’ll keep essential accessories sorted, clean, and easy to reach.
What to Stock in a Diaper Cart?
Stock your diaper cart with diaper cart essentials: 10–12 diapers, 60+ wipes, cream, changing pad, sanitizer, extra outfit, and wet bag. About 70% of parents report faster changes with best storage solutions, freeing you.
How to Organize Your Nappy Bag?
You’ll organize your nappy bag by zoning diaper essentials, feeding gear, and your stuff into labeled pouches. Use packing tips like quick-grab pockets and zippered sections, then restock often so you’re free from frantic searching.
When Should You Start Packing a Diaper Bag?
You should start packing your diaper bag during the third trimester, and have it ready by 36 weeks. Your packing timeline should include diaper bag essentials, so you’re prepared, calm, and free to go anytime.
Conclusion
With a little setup, your diaper bag can work for you instead of against you. When you pack the changing station first, keep feeding items together, and use quick-grab pockets, you’ll cut down on fumbling during busy moments. It may feel like extra effort now, but you’ll save time and stress every time you leave the house. Test your setup, adjust as needed, and you’ll head out feeling prepared and calm.