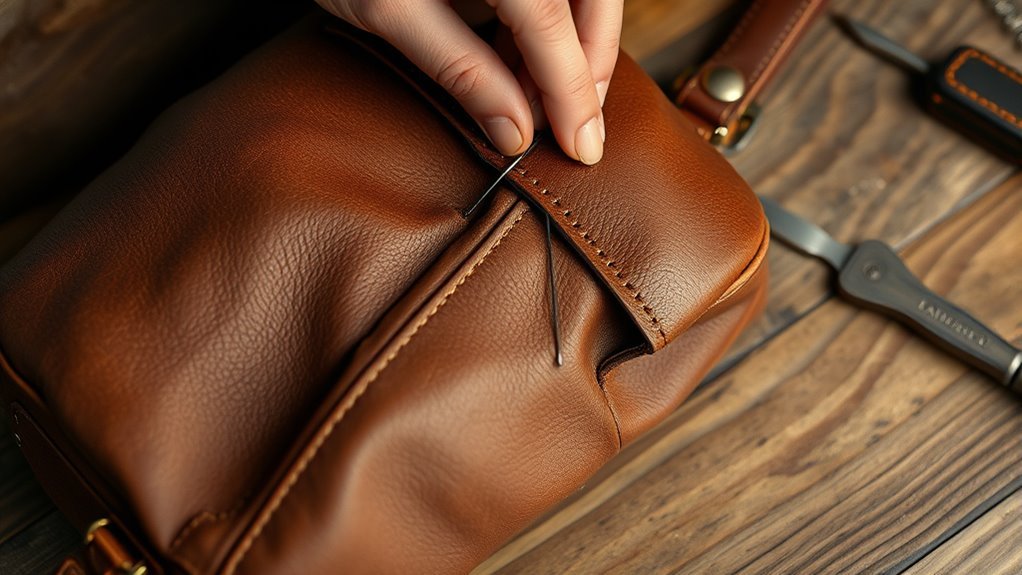
First, assess the tear, nearby stress marks, and leather type so you know how much support it needs. Clean the area with a leather cleaner and let it dry fully. Trim only loose fibers, then place a matching leather patch or strong adhesive behind the tear to reinforce the weak spot. Align the edges, stitch with waxed thread if needed, and finish with conditioner. With a few more steps, you can make the repair last longer.
Assess the Leather Bag Tear
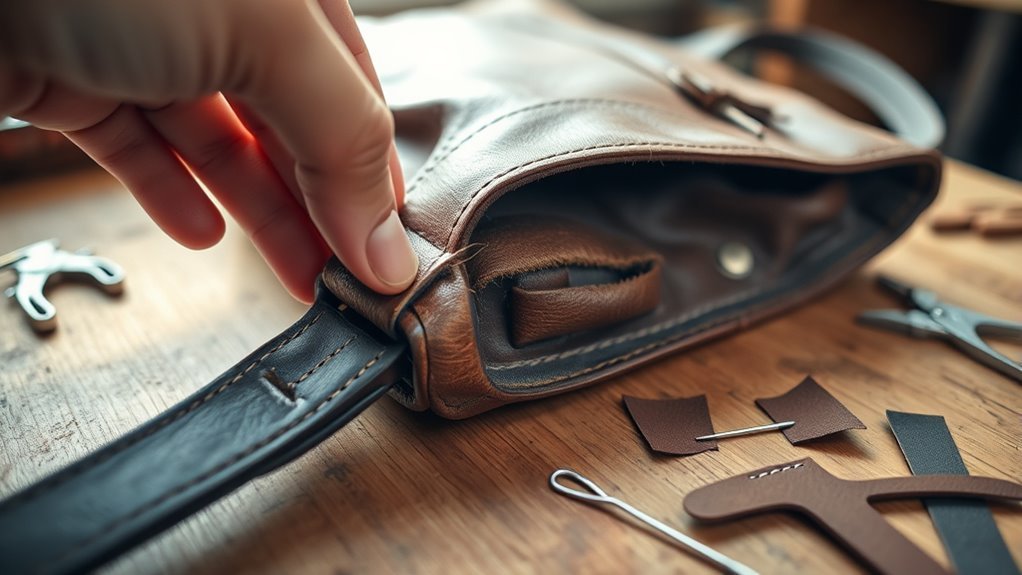
Before you start repairing the bag, inspect the tear closely so you can choose the right method.
Begin your tear evaluation by measuring the length, depth, and exact location of the damage. A small surface split needs a different fix than a deep tear near a seam.
Look for frayed edges; if fibers are loose, trim only what’s necessary so you can create a clean repair line.
Then identify the leather types, because smooth leather, suede, and coated finishes don’t respond the same way to adhesives or patching.
Check the area around the tear for weak spots, thinning, or stress marks that could open again unless you reinforce them.
Also judge the bag’s overall condition. If you see broad wear, cracks, or repeated damage, you may need a broader restoration plan instead of a single patch.
Careful assessment helps you work with the material, not against it, and reclaim the bag’s strength.
Clean and Prep the Damaged Area
Clean the damaged area with a leather cleaner to remove dirt and oils so your repair materials can bond properly. Use cleaning techniques suited to your leather types, and work gently with a soft cloth so you don’t scuff the surface or widen the tear.
- Wipe the area in small circles.
- Remove grime without soaking the leather.
- Let the surface dry fully before you move on.
- Trim frayed edges on deeper tears with sharp scissors.
Check the surrounding leather for extra weak spots while you clean. If you find loose fibers or thin areas, note them now so you can reinforce them later.
A careful prep step gives you more control and helps you protect your bag on your own terms. Keep the area dry, smooth, and free of residue. That clean foundation supports a stronger, cleaner repair and reduces the chance of failure when you continue.
Choose a Patch or Adhesive
Choose a patch or adhesive that matches the leather and the repair you need. For patch selection, choose high-quality leather or a fabric that closely matches your bag’s finish so the repair blends in and stays strong.
Cut the patch slightly larger than the tear; that extra margin gives the damaged area better support without making the fix bulky. For adhesive types, use a strong leather glue made for bonding leather materials. It should stay flexible, hold firmly, and resist stress as you move the bag.
Before you apply anything, clean the tear and surrounding leather with a leather cleaner so the bond grips well and lasts longer. If you want a more permanent result, consider a heat setting adhesive. It cures with heat and forms a tougher bond over time.
Choose materials that let you restore the bag cleanly and confidently, on your terms.
Reinforce the Tear From Below
Once the tear is prepped, reinforce it from below by slipping a slightly larger leather or fabric patch under the damaged area and bonding it in place with strong leather adhesive or fabric glue.
Clean the surrounding leather first so the repair grips well. Choose patch materials that match the bag’s weight and flex, and compare adhesive types to find one made for leather or textiles.
Press the patch firmly for several minutes so it seats evenly and holds the tear steady.
- Center the patch so it extends past every edge of the tear.
- Smooth out wrinkles before the glue sets.
- Use clamps or a weight to keep pressure on the bond.
- Let the adhesive cure fully before you move the bag.
When the bond is set, the weak spot can stay supported and ready for daily use.
Stitch and Blend the Repair
Clean the area around the tear with a leather cleaner.
Then use a leather needle and strong flexible thread to make small, even stitches along the split.
For extra strength, use a backstitch so the repair holds securely.
After you stitch it, hide a leather patch or adhesive behind the tear and condition the leather so the fix blends in.
Stitching the Tear
Align the torn edges of the leather bag as closely as possible, then hold them together with clips or pins before you start stitching.
Use a heavy-duty needle and waxed thread so your repair can handle daily wear. Choose thread types and stitching techniques that serve your bag’s freedom from failure.
- Stitch from both sides with a saddle stitch.
- Keep each pass tight and even.
- Match the thread color to the leather.
- Add an inside patch if the tear is wide.
Work slowly and keep your tension steady so the tear closes cleanly. If any stitches stand out, touch them with leather dye after you finish.
A secure seam gives you strength, preserves function, and lets your bag keep moving with you.
Blending the Repair
With the tear stitched closed, focus on making the repair blend into the rest of the bag. Wipe the area clean again, then inspect the seams and surrounding leather.
Choose a matching leather dye or paint through careful color matching so the repair disappears, not dominates. Apply thin coats with a small brush or sponge, working from the stitched line outward. Let each coat dry before adding the next, and keep the coverage even for a seamless finish.
If needed, soften edges with light buffing after drying. Finish by massaging leather cream into the repaired section and nearby panels. This restores flexibility, protects the fibers, and helps the fix move with the bag.
These repair techniques keep your bag strong, useful, and free to carry forward.
Condition the Repaired Leather
Once the tear’s fixed, you’ll want to rehydrate the patched area with a quality leather conditioner to restore moisture and flexibility.
Apply it evenly with an applicator sponge so it blends into the repaired section and the surrounding leather.
Let it absorb for 15–30 minutes, then wipe off any excess to keep the finish smooth and clean.
Rehydrate the Patched Area
After the tear is patched, rehydrate the repaired leather with a high-quality conditioner to restore moisture and flexibility. Use this step as one of your essential hydration methods for lasting leather maintenance.
- Apply conditioner generously to the patched area.
- Let it sink in so the leather won’t dry out or crack.
- Use a soft cloth or applicator sponge to cover the repair and nearby leather.
- Wait 15-30 minutes, then wipe away excess.
This pause lets the material absorb moisture fully.
Keep returning to the repaired spot every 3-6 months to preserve strength and support weak spots before they fail.
You’re not just fixing damage—you’re protecting your freedom to use the bag with confidence, knowing the leather stays supple, resilient, and ready for daily movement.
Blend Conditioner Evenly
Use a soft cloth or applicator sponge to blend the conditioner evenly over the repaired leather, massaging it in with light, circular strokes so it penetrates deeply and restores a uniform feel.
Work slowly and keep the coat thin, because excess product can clog the surface and dull the finish. Match your pressure to the leather types you’re handling; softer hides need a gentler touch, while sturdier ones can take a firmer pass.
Set the bag in a well-ventilated area and let it absorb without heat. Pay extra attention to the edges around the tear and other high-wear zones, since they need reinforcement most.
Repeat this care on a sensible conditioning frequency, every 3–6 months, to keep the repair flexible, strong, and ready for use.
Frequently Asked Questions
Can a Torn Leather Bag Be Repaired?
Yes, you can repair a torn leather bag with leather glue, patches, or stitching. Clean it first, then use leather maintenance tips and tear prevention techniques to strengthen the weak spot and extend its life.
Can Leather Tears Be Repaired?
Yes—like stitching a flag back to its pole, you can repair leather tears. Use DIY leather restoration, clean first, apply adhesive or a patch, then condition it. Follow leather maintenance tips to keep it strong.
What Type of Glue Should I Use to Repair Torn Leather?
Use a specialized leather adhesive like Barge All-Purpose Cement or Aleene’s Leather & Suede Glue; they’re strong leather adhesive options for reliable repair techniques. Clean and dry the surface, test first, then apply sparingly and press firmly.
What Is a Good Leather Bag Repair Kit?
A solid leather bag repair kit includes adhesive, patches, applicators, color-matching dye, and leather care conditioner. You’ll keep your bag maintenance elegant and free, with clear instructions and varied patch sizes for discreet, durable repairs.
Conclusion
With a little care, you can turn a frayed tear into a sturdy fix. Now that you’ve assessed the damage, cleaned the leather, reinforced the weak spot, and blended the repair, your bag should hold up better and look sharper too. Keep conditioning it so the leather stays flexible, not brittle. Treat small damage early, and you’ll stop one weak seam from unraveling the whole bag.