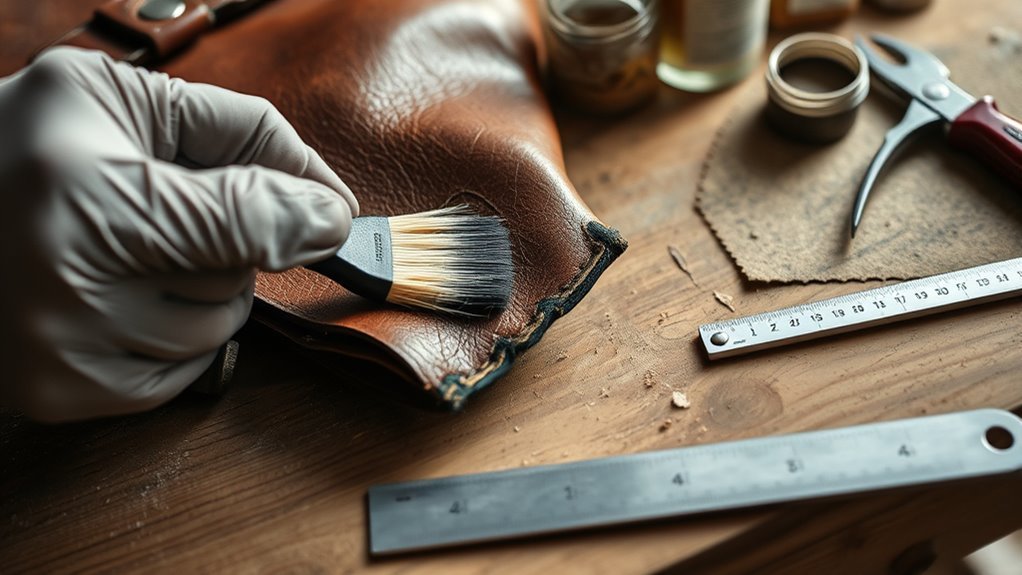
Inspect each corner, then clean the bag with a barely damp cloth or a leather cleaner and let it dry fully. For scuffs and color loss, use thin coats of leather acrylic paint. For deeper wear, lightly sand the area, glue lifted fibers with a flexible leather adhesive, and press them flat. Where leather is missing, build the corner back up with a leather pad. Let each repair cure for 24–48 hours, then condition the leather and store the bag in a dust bag, lightly stuffed with acid-free tissue paper.
Assess Leather Corner Damage
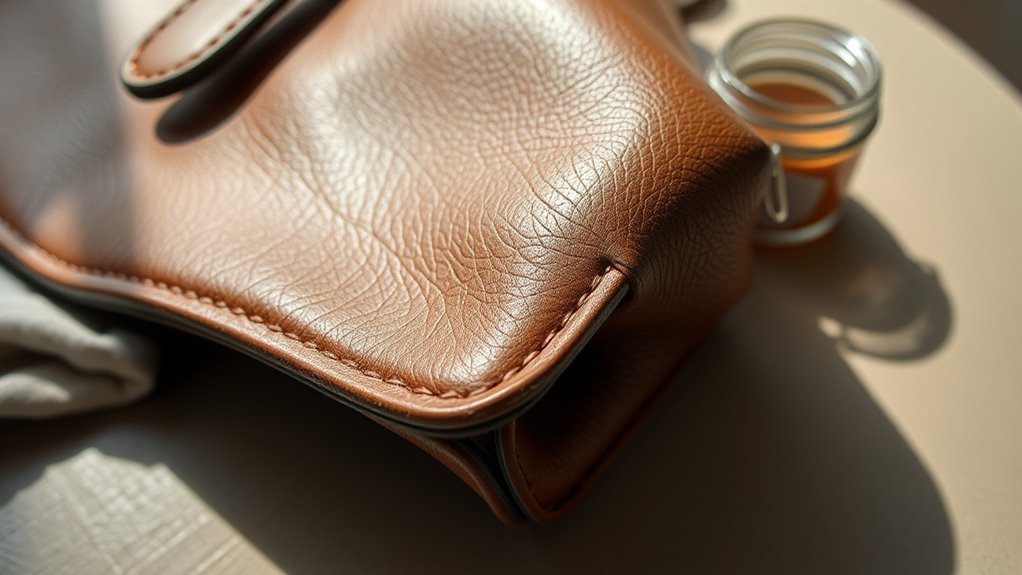
Start by closely inspecting each corner of the bag for scuffs, scratches, tears, and worn-through areas so you can judge the extent of the damage.
Check every corner separately, because wear depends on how the bag is carried, set down, and loaded.
Note whether the leather is full grain, top grain, or another of the common leather types, since each one demands a different repair approach and product.
Look for loose stitching, lifted seams, and frayed edges that could undermine the repair if you leave them in place.
Check the color closely, too; fading or discoloration can change how well a filler, paint, or conditioner will match.
Document each corner separately, including depth of wear, shape of the tear, and any asymmetry between sides.
A quick photo of each corner before you start also lets you compare the result afterward.
Clean the Bag Before Repair
Before you apply any filler, paint, or adhesive, clean the bag. Wipe the leather with a soft cloth lightly dampened with water or a leather cleaner, paying attention to the worn corners. Dirt and body oils left in the damage stop paint and glue from bonding.
For stubborn residue on the lining, run a lint roller across the fabric until debris is gone.
After cleaning, let the bag air-dry completely in a shaded, ventilated space. Do not use a hair dryer or heater, because heat can shrink and stiffen leather.
Do not skip this step. Paint and glue only hold well on a clean, dry, dust-free surface.
Gather Your Leather Repair Tools
You will need a leather acrylic paint in a close color match, a flexible leather adhesive, fine sandpaper, a small brush, a soft cloth, and leather conditioner. For rebuilding a corner, add a scrap of matching leather and, for a stronger fix, a stitching awl, needle, and waxed thread.
Repair Leather Bag Corners With Acrylic Paint
Paint suits scuffs and color loss where the leather is still intact. It does not rebuild missing material, so use it after the corner has been cleaned and dried.
Then dab a matching leather acrylic paint onto the damaged areas with a small brush in thin layers, building coverage without adding bulk.
While it’s still wet, wipe off any excess to blend the repair into the original leather finish.
Prep Corners for Paint
Make sure the corner is clean and completely dry, then trim any loose fibers with small scissors.
Before you paint:
- Inspect the fibers and trim loose edges.
- Pick a leather acrylic paint that matches the bag in daylight.
- Test the paint on a hidden spot, such as under a strap end, and let it dry to check the shade.
- Keep the surface free of dust and oils.
Dab and Blend Paint
Load a small brush with leather acrylic paint close to your bag’s color, then dab a thin layer onto the worn corner. Build coverage gradually so the paint does not pool or drip.
| — | — |
|---|---|
| 1 | Check color matching under natural light |
| 2 | Dab, don’t brush, for control |
| 3 | Add thin layers as needed |
| 4 | Wipe excess paint while wet |
| 5 | Dry in ventilated air for one hour |
Several thin coats give a cleaner edge and better adhesion than one heavy coat. If paint strays beyond the corner, wipe it with a soft cloth right away, before it sets. Let each coat level out before adding the next, and leave the bag in a well-ventilated space for at least an hour after the last coat.
Fix Deeper Corner Damage With Leather Glue
For deeper corner damage, wipe the area with a barely damp cloth to remove dirt and let it dry completely. The adhesive needs a clean, dry surface to grip.
- Buff the worn corner lightly with fine sandpaper to open the surface.
- Choose a flexible adhesive made for leather. Rigid glues crack when the corner flexes.
- Apply a thin, even coat of glue, pressing it into gaps and tears for full contact.
- Let it cure fully, following the adhesive label (often 24 hours), then buff lightly.
Keep the glue layer thin so it stays flexible and does not show through the surface.
After curing, check the repair for lifted edges or gaps. Once it is solid, touch up the color if needed and condition the surrounding leather.
Build New Corners With Leather Pads
When the corner is worn too far to fill, rebuild it with a leather pad cut to match the damaged area. Measure the loss, then choose a scrap of similar thickness and grain.
Cut each pad so it fits snugly over the corner without forcing the shape. Apply a thin, even coat of strong leather glue to both surfaces, covering the pad and the purse corner. Press the pad into position and hold it firmly, or clamp it, for several hours so the bond sets under steady pressure.
After curing, check that the edges line up and the corner holds its shape. On a bag that carries heavy loads, stitching the pad in place with an awl and waxed thread lasts longer than glue alone.
Finish by conditioning the new leather so it stays flexible and resists cracking.
Smooth and Blend the Repair
Feather the repaired edges with fine sandpaper so you can remove any sharp shifts and match the surrounding leather texture.
Feather the Edges
Once the repair is dry, feather the edges so there is no hard line between the repair and the original leather.
Use these steps:
- Lightly buff the border with fine sandpaper.
- Apply a thin coat, then add another only if needed.
- Wipe excess paint from the edge with a soft cloth while it’s still wet.
- Recheck the perimeter after drying for any abrupt line.
Work gradually, so the repaired zone thins into the original leather instead of stopping hard. Keep your pressure light and your passes exact.
Let the Leather Dry Fully
After cleaning or painting, let the leather dry completely so the repair bonds properly and the bag keeps its shape. Choose a cool, airy, shaded spot and give the corners at least 24–48 hours to cure.
- Place the bag in a well-ventilated room.
- Keep it away from direct sunlight and heat sources.
- Leave it untouched so moisture can escape evenly.
- Check that every repaired edge feels fully dry before moving on.
If you cut this stage short, the leather can warp, the acrylic paint may crack or peel, and trapped moisture can invite mold or faster deterioration.
Condition the Repaired Corners
Once the repair has fully cured, apply a small amount of leather conditioner with a clean microfiber cloth and massage it into the corners, including the painted areas. Use a formula made for leather, and repeat every 3–6 months to keep the leather supple and limit cracking. Conditioner is for smooth finished leather; skip it on suede and nubuck.
| Step | Action | Result |
|---|---|---|
| 1 | Select leather conditioner | Material compatibility |
| 2 | Apply sparingly | No saturation |
| 3 | Work into corners | Even penetration |
| 4 | Wipe excess | Clean finish |
| 5 | Repeat every 3-6 months | Leather longevity |
Store the Bag To Prevent Wear
Once the corners are conditioned, store the bag in a cool, dry place. Keep the humidity steady, roughly 40–55%, because damp air encourages mold and big swings in humidity dry out leather.
Use these steps:
- Slip the bag into a dust bag or clean pillowcase to block dust and abrasion.
- Add silica gel packets if the cupboard runs damp.
- Stuff the bag lightly with acid-free tissue paper so the corners and seams stay relaxed.
- Air it out periodically, and place it away from direct sunlight to prevent fading, drying, and cracking.
Good storage keeps the leather stable, protects the structure, and limits new corner wear.
Frequently Asked Questions
Can a Worn Leather Bag Be Restored?
Often partly. Scuffs, color loss, and light corner wear can be improved with cleaning, paint, and conditioning, and a rebuilt pad can restore a badly worn corner. The result will rarely look brand new, but it can stop the damage from spreading.
How to Fix Leather Edges?
Sand lightly to remove frayed fibers, bond lifted leather with a flexible leather adhesive, then repaint the edge and condition the leather.
Do Leather Repair Kits Actually Work?
Yes, leather repair kits can work on minor scuffs and scratches. Your repair kit effectiveness depends on clean prep, matching materials, and careful application.
How to Repair Scuffed Leather Handbag?
Wipe the scuff with a leather cleaner, let it dry, and rub gently with a soft cloth. If color is gone, dab on matching leather acrylic paint in thin coats, then condition the leather once it has cured.
Conclusion
Worn corners are repairable if you catch them early. Clean the leather, fix the damage with paint, adhesive, or a leather pad, let each repair cure fully, and condition the bag afterward. Store it in a cool, dry place and avoid overloading it, and the repair will hold up far longer.