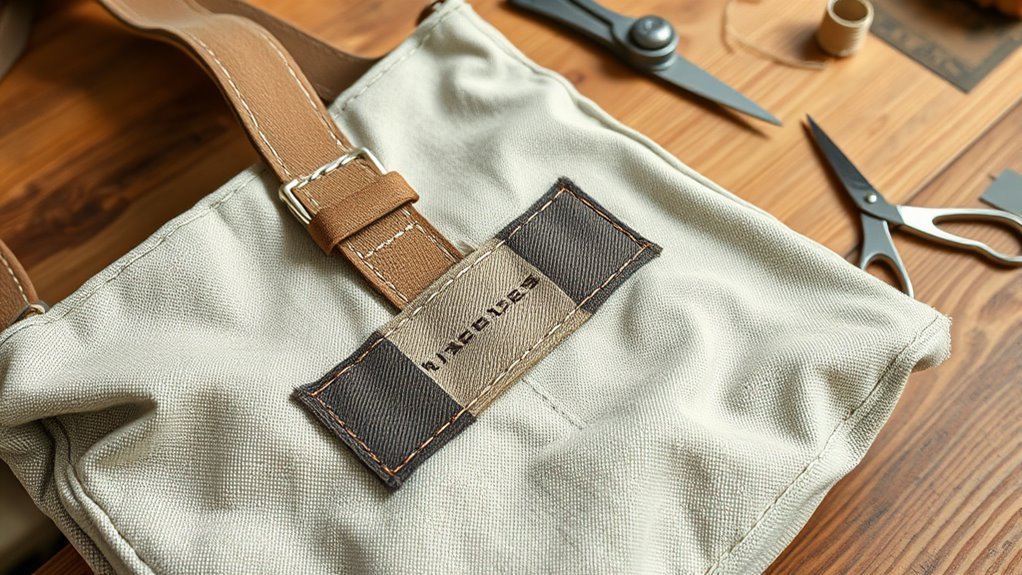
To fix a torn bag strap attachment without weak seams, start by cleaning the area and evaluating the damage. Use a seam ripper to remove old stitches, then stitch a durable patch over the tear with a heavy-duty needle and thick waxed thread. Reinforce with adhesive for extra strength. Finally, sew the strap back to the bag using secure stitching techniques like backstitching. Following these steps will guarantee a strong repair, and there’s more to explore for ongoing care.
How to Fix a Torn Bag Strap Attachment
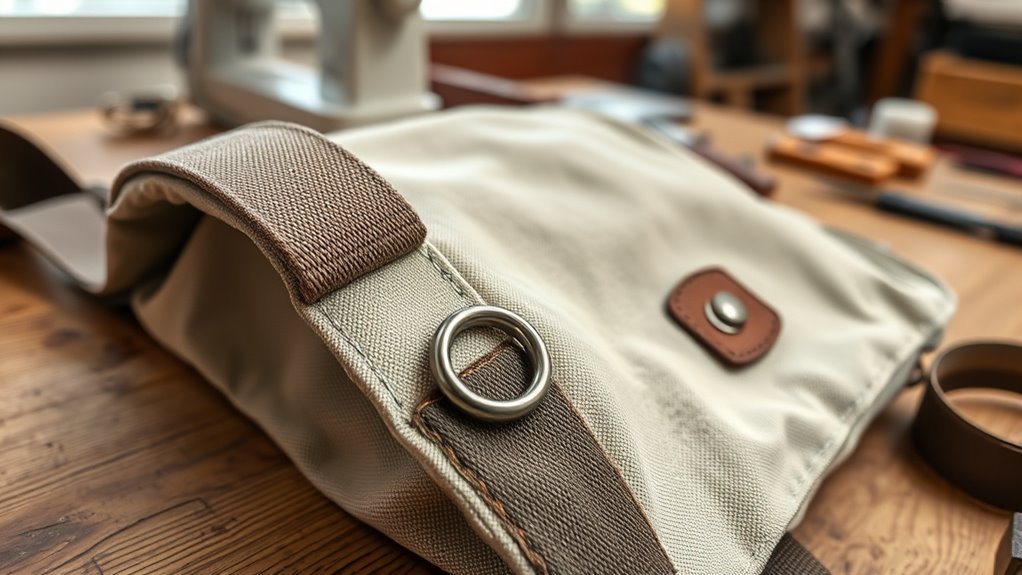
If you’ve noticed a torn bag strap attachment, don’t worry; you can fix it with some basic tools and techniques. Start by using a seam ripper to remove any damaged stitching, exposing the torn area.
For strong repair longevity, select a heavy-duty glover needle and thick waxed thread; these materials enhance durability. When re-stitching, make sure your stitches are tight and evenly spaced, employing effective stitching techniques for stability.
To reinforce the attachment point, sew an additional piece of leather or fabric over the torn area. This patch reinforcement distributes stress and prevents future fraying.
Before reattaching the strap, create small needle holes in the leather; this step facilitates easier stitching and prevents further tearing.
Finally, don’t forget strap care—condition the leather after your repair to maintain flexibility and prevent dryness, safeguarding against additional damage. With these sewing tips, your bag strap will be as good as new.
Understanding the Causes of Strap Damage
After addressing the torn strap attachment, it’s important to understand the underlying causes of strap damage to prevent future issues. Strap longevity is greatly influenced by several factors, including material selection, stitching techniques, and weight management. Poor stitching can lead to weak seams, while low-quality materials may fray under stress. Environmental impact plays a role too; moisture or extreme temperatures can degrade your bag’s components.
To effectively manage these risks, consider the following table:
| Cause | Impact on Straps |
|---|---|
| Overloading | Increases tension, risking damage |
| Poor stitching | Weak seams prone to tearing |
| Low-quality materials | Higher likelihood of fraying or breaking |
| Environmental factors | Material degradation over time |
Regular bag maintenance and seam reinforcement can reduce repair frequency and enhance durability. Understanding these elements empowers you to make informed choices for your bag’s care.
Essential Tools for a Durable Repair
To achieve a durable repair on a torn bag strap, having the right tools is vital. Start with a heavy-duty Glover needle; it’s designed to penetrate thick leather and guarantee your repairs last.
Pair this with thick waxed thread, which not only reinforces the attachment but also resists fraying over time.
For precise needle holes, use a straight tailor’s awl—this tool simplifies the sewing process and minimizes the risk of tearing the leather.
Don’t forget a seam ripper; it’s essential for removing old stitches without damaging the material, allowing for a clean slate.
Finally, a leather sewing palm can greatly enhance your efficiency by pushing needles through tough materials while reducing hand fatigue.
Prioritize your tool selection carefully, as each contributes to effective repair techniques, guaranteeing your bag strap isn’t only fixed but fortified against future wear.
Clean and Assess Damage
Start by cleaning the area around the tear with a mild soap solution to eliminate dirt and oils that could affect your repair.
Next, inspect the torn edges and surrounding hardware for any signs of fraying or weakness, as these factors will influence your repair options.
Document your findings with photos to keep track of the strap’s condition throughout the process.
Inspect Damage Thoroughly
Before diving into repairs, it’s essential to clean the area around the torn strap attachment with a soft cloth, removing any dirt or debris that could hinder your efforts.
Next, inspect the damage closely to gauge the extent of the tear; determine if it’s just the strap or if the attachment point is compromised too.
Look for loose threads or frayed edges, as these may indicate the need for more extensive repair techniques.
Assess the surrounding leather or fabric for wear, ensuring it can still support a repair without jeopardizing the bag’s integrity.
Document the condition with photos to track the damage and help decide on the best repair method or if professional assistance is necessary.
Clean Affected Area
Once you’ve thoroughly inspected the damage, focus on cleaning the affected area. Start by using a soft cloth and mild soap—these cleaning techniques will effectively remove dirt and debris, ensuring a better bond for any repairs.
Pay attention to the specific fabric types involved, as some materials may require gentler handling. After cleaning, dry the area thoroughly to prevent moisture from compromising adhesion or causing further damage.
Inspect the cleaned area for hidden tears or fraying that may need addressing. A magnifying glass can help you closely examine the stitching and attachment points for signs of weakness.
Finally, assess the surrounding material’s integrity; damaged areas might need reinforcement before you proceed with repairs.
Assess Repair Options
As you assess repair options for the torn bag strap, it’s essential to evaluate the extent of the damage first.
Clean the torn area with a damp cloth to remove dirt, ensuring better adhesion for any repair materials. Inspect for frayed edges or weak seams that could compromise the strap’s strength.
Consider using durable materials like leather or canvas for reinforcement techniques, which can help distribute stress evenly.
Check if the existing stitching is intact; if not, re-stitch the edges with heavy-duty thread to prevent further fraying.
Finally, evaluate the surrounding material’s strength—if it shows wear, additional reinforcement may be necessary to maintain the strap’s overall durability and functionality.
Pick the Best Stitching Technique for Your Repair
When picking a stitching technique for your bag strap repair, focus on using a durable thread type that can withstand stress.
Select an appropriate stitch pattern that suits the material and the area of repair, ensuring it provides the necessary strength.
Finally, maintain even tension throughout your stitching to create a uniform seam that enhances durability and appearance.
Choose Durable Thread Type
Choosing the right thread type is essential for a successful bag strap repair. Opt for heavy-duty polyester or nylon thread; these thread varieties provide superior strength and durability compared to cotton, which can break under stress.
Match the thread thickness to the original stitching for a seamless appearance and consistent design. For added strength, consider employing a whip stitch or saddle stitch technique, as these methods create a more secure bond than a simple running stitch.
Additionally, using waxed thread can enhance grip and minimize friction during sewing, preventing slippage. Before starting, always test the thread’s tensile strength to verify it can withstand the intended load, maximizing thread longevity and guaranteeing a robust repair.
Select Appropriate Stitch Pattern
Selecting the right stitch pattern is essential for ensuring a strong and durable repair for your torn bag strap.
For flexible seams, a zigzag stitch offers excellent stitch durability, preventing fraying while accommodating movement. If you’re opting for a straight stitch, reinforce it with a second line at stress points to enhance strength.
For leather straps, a saddle stitch creates interlocking seams that withstand considerable tension without compromising integrity. Additionally, employing a backstitch in high-stress areas provides added security, ensuring your repair can handle heavy loads.
Don’t forget to use a heavy-duty thread suitable for the material to maximize the overall strength and longevity of your repaired seam.
Ensure Even Tension Throughout
To guarantee a reliable repair, focus on maintaining even tension throughout the stitching process.
Use a backstitch technique to create strong seams that distribute stress evenly across the torn area. Select a heavy-duty thread, like waxed polyester, to enhance durability against wear. Confirm your needle size matches the strap’s thickness; this prevents unnecessary holes that weaken the seam.
As you stitch, manage tension by pulling the thread taut but not overly tight, allowing for flexibility in movement. Reinforce your repair with additional stitches or a patch on the interior side, promoting even stress distribution.
This meticulous approach guarantees your bag strap remains robust, liberating you from concerns about future failures.
Reinforce Your Repair With a Patch
Reinforcing your repair with a patch is essential for extending the life of a torn bag strap. Follow these steps for a solid fix:
- Select Patch Materials: Cut a patch from durable fabric or leather, slightly larger than the tear, to guarantee extra support.
- Choose Adhesive Types: Apply a flexible adhesive to both the patch and the surrounding area, creating a robust bond.
- Sew Edges: Use a heavy-duty needle and thick waxed thread to sew around the patch’s edges, preventing fraying and further tearing.
- Stitch for Stability: For added strength, stitch through both the patch and the original strap in high-stress areas.
Regularly inspect the patched section for signs of wear.
Regular inspections of the patched area are crucial for spotting wear and ensuring a lasting repair.
Reapply adhesive or stitching as needed to maintain the integrity of your repair.
This method empowers you to restore your bag strap effectively, guaranteeing it stays functional for the long haul.
Apply Adhesive for Added Strength
To guarantee a durable bond when fixing your bag strap, start by selecting a flexible, high-strength adhesive suitable for leather or fabric.
Clean both surfaces thoroughly to enhance adhesion before applying the adhesive evenly and generously.
This method not only strengthens the repair but also maintains the strap’s flexibility for long-term use.
Choose the Right Adhesive
Choosing the right adhesive is essential for a successful repair of a torn bag strap. To guarantee a strong bond without compromising flexibility, consider the following:
- Flexible Adhesives: Opt for those designed specifically for leather or fabric.
- Water-Resistant Options: Look for adhesives labeled as water-resistant to enhance durability.
- Dual Application: Apply adhesive to both surfaces of the torn strap for peak adhesion; follow the manufacturer’s drying instructions.
- Clamping Technique: Use clamps or weights to hold the pieces together while the adhesive cures, preventing any shifting.
In high-stress areas, combining adhesive types with additional stitching can greatly enhance the repair’s strength.
Mastering these bonding techniques empowers you to restore your bag effectively and efficiently.
Proper Application Techniques
While applying adhesive, guarantee that both surfaces of the torn strap are clean and dry to maximize bond strength.
Choose a flexible adhesive designed for leather or fabric, as this maintains strap flexibility while preventing stiffness.
During adhesive application, spread an even layer on both surfaces. Firmly press them together for at least 30 seconds to confirm proper adhesion.
Allow the adhesive to cure fully according to the manufacturer’s instructions, typically 24 hours, before putting any stress on the strap.
For added reinforcement, consider sewing around the glued area with a heavy-duty needle and waxed thread after the adhesive has dried.
This method ensures durability, allowing your bag strap to regain its strength and functionality.
Sew Your Strap Back to the Bag for Security
Securely sewing your bag strap back to its base is essential for maintaining its functionality and durability. Follow these steps to guarantee strap durability through effective stitching techniques:
- Select Materials: Use a heavy-duty leather needle and thick waxed thread to withstand tension.
- Prepare the Area: Reinforce the attachment by making small needle holes in advance, guiding your stitching and minimizing fraying.
- Stitching Method: Employ a backstitch technique for added strength. Overlap each stitch with the previous one to create a robust seam.
- Add Support: If the leather is worn, consider placing a patch of strong fabric or leather underneath the seam for extra support.
After sewing, regularly inspect the newly attached area for wear. If you notice any signs, re-stitch or reinforce to maintain the integrity of the strap attachment.
This method guarantees your bag remains reliable and functional.
How Do You Test Your Repair for Stability?
After sewing your strap back to the bag, it’s important to confirm the repair can withstand everyday use. Start by stress testing your repair: fill the bag with lightweight items, gradually increasing the weight to assess how the strap holds under pressure.
Pay attention to weight distribution across the attachment points. During this test, check for any signs of movement or looseness; these indicate a potential weakness in your repair.
Pay close attention to weight distribution at the attachment points, as any movement or looseness may signal a weak repair.
Next, gently tug on the repaired strap while the bag is weighted to simulate regular use. Focus on high-stress areas like the D-ring and hardware—verify there’s no bending or wear.
After testing, inspect the stitching carefully. If you notice frayed or broken threads, reinforce the repair to enhance stability.
This methodical approach confirms your strap remains secure, empowering you to carry your belongings with confidence.
Tips for Maintaining Strap Integrity Post-Repair
To maintain strap integrity post-repair, you should regularly inspect attachment points for signs of wear or loosening, especially after heavy use.
By being proactive, you can catch issues early and prevent further damage. Here are some essential strap maintenance durability tips:
- Inspect Regularly: Check attachment points frequently for any signs of wear, particularly after strenuous use.
- Use Quality Materials: When repairing, always opt for high-quality, durable thread and a strong needle to guarantee seams withstand stress.
- Reinforce if Necessary: Consider adding leather or fabric patches to reinforce attachment points, ensuring flexibility remains intact.
- Avoid Over-tightening: During repairs, don’t over-tighten stitches; this can stress the leather and weaken attachments over time.
Frequently Asked Questions
How to Fix a Broken Bag Strap Clip?
To fix a broken bag strap clip, assess its damage first. If necessary, replace it with a compatible clip. Consider strap alternatives that enhance durability, ensuring your bag’s functionality and aesthetic remain intact for future use.
How to Repair a Torn Leather Bag Strap?
To repair a torn leather bag strap, assess the damage, then sew edges with a heavy-duty needle and waxed thread. For various strap types, condition the leather and reinforce weak areas for durability and longevity.
How to Attach a Strap to a Bag Without Sewing?
To attach a strap to a bag without sewing, use strong adhesive options like E6000 or heavy-duty Velcro strips. Explore strap alternatives like self-adhesive rivets for a secure, durable connection that empowers your creativity.
How to Reinforce a Bag Strap?
When reinforcing your bag strap, use heavy-duty thread and strong needle, ensuring tight stitches. Consider patching weak areas with durable strap materials. Employ reinforcement techniques like applying flexible adhesive for added strength and longevity.
Conclusion
To summarize, repairing a torn bag strap attachment doesn’t have to feel like scaling Mount Everest. By following the steps outlined, you can guarantee a strong, durable fix that withstands the test of time. Remember to assess the damage thoroughly, choose the right stitching technique, and reinforce with adhesive for added strength. With proper maintenance post-repair, your bag’s strap can remain as reliable as a Swiss Army knife, ready for any adventure that comes your way.