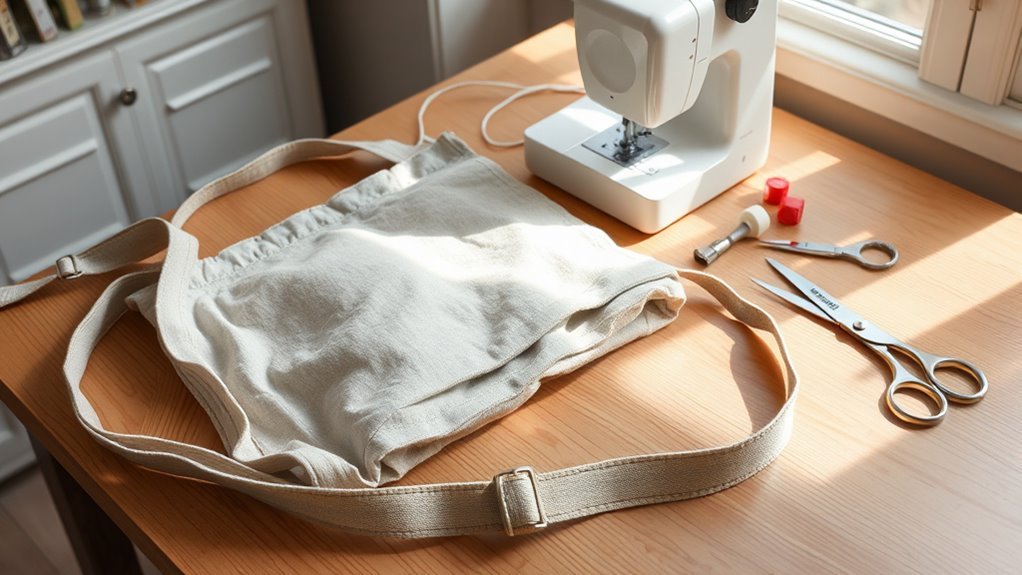
To sew a comfortable crossbody strap, cut a fabric strip four times the finished width and about 4 inches longer than the finished length. Fuse interfacing to it, fold the long edges to the center, fold again, and topstitch both edges. Thread on a slider and two swivel clips, stitch the ends with a box and an X, and clip the strap to D-rings on the bag. For comfort, make it at least 1 inch wide and adjustable.
Choose Your Crossbody Strap Style
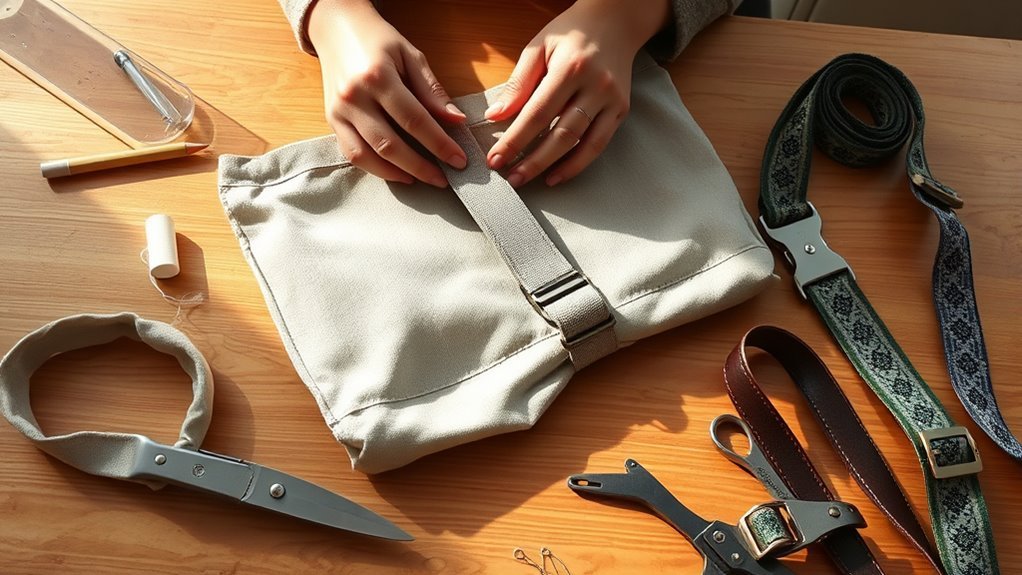
Start by choosing the strap style. There are three: a strap sewn into the bag, a strap that clips on, and a clip-on strap that also adjusts.
A sewn-in strap is the simplest and has no hardware to buy. Its length is fixed, so measure carefully. A clip-on strap attaches to D-rings with swivel clips, so you can remove or swap it.
An adjustable strap adds a slider, which lets you change the length for different heights and coats. It takes a few more minutes to sew and is the most comfortable choice for a bag you will wear often.
For a heavier bag, add a layer of fusible fleece inside the strap. The padding spreads the load and stops the strap from digging into your shoulder.
This guide follows the adjustable clip-on version. For a fixed strap, skip the slider steps.
Pick the Right Strap Width and Length
Width and length decide how the strap feels. Common finished widths are 1/2 inch, 3/4 inch, 1 inch, and 1 1/2 inches.
For length, an adjustable crossbody strap usually finishes at 50 to 55 inches at its longest. A fixed strap for a shorter drop can be 40 to 45 inches.
Buy the hardware first, then cut the strap to match it. The strap has to fit the inside width of the rings, slider, and clips.
Strap Width Options
A wider strap is more comfortable, because it spreads the weight over more of the shoulder. Use 1/2 inch only for small, light bags. Use 1 inch for everyday bags, and 1 1/2 inches for bags that carry a tablet, a water bottle, or more.
| Width | Use |
|---|---|
| 1/2″ | Slim, minimal profiles |
| 3/4″ | Balanced everyday carry |
| 1″ | More support, bolder look |
| Wider cut | Use only with robust hardware |
| Fabric cut | Cut 4× finished width |
The table shows how the common widths compare.
Ideal Strap Length
To find your length, drape a tape measure across your body from the hip where the bag will sit, over the opposite shoulder, and back down to the same hip. Add about 4 inches for the folds at the hardware. Most adults land between 45 and 55 inches.
If you are not sure, make it adjustable and cut for the longer end of the range. You can always shorten a strap with the slider, but you cannot lengthen it.
For a child or a very small bag, 35 to 40 inches is often enough.
Hardware Size Match
Hardware is sized by its inside width. A 1 inch strap needs 1 inch D-rings, a 1 inch slider, and 1 inch swivel clips. If the strap is wider than the hardware, it bunches. If it is narrower, it slides and twists.
For an adjustable strap you need one slider and two swivel clips. The bag needs two D-rings, one on each side. A fixed strap needs no slider.
Choose metal hardware for anything but the lightest bag. Plastic clips can snap under load.
Cut and Interface the Strap Fabric
Cut the strap strip four times the finished width. For a 1 inch strap, cut it 4 inches wide. Cut the length to your finished length plus about 4 inches. For a standard adjustable strap, that is 55 to 60 inches.
If your fabric is too short, join two strips. Trim the seam allowance and press it open so the join lies flat.
Fuse a woven interfacing, such as Pellon SF101, to the wrong side. Stop it about 1/2 inch short of each end. That keeps the ends thin enough to fold and stitch.
Fabric Size
Here is the cutting math for the most common size. A 1 inch finished strap needs a strip 4 inches wide and 55 to 60 inches long. A 1 1/2 inch strap needs a strip 6 inches wide.
Quilting cotton needs interfacing along the full length. Without it, the strap will be limp and will stretch. Canvas and denim are firm enough to skip it or to use a lighter one.
Cut along the straight grain of the fabric, with a rotary cutter and ruler if you have them. A strip that wanders off grain will twist when it is worn.
Join And Trim
To join strips, place the two ends right sides together at a right angle and sew diagonally from corner to corner. A diagonal seam spreads the bulk over a longer stretch, so it is less of a lump in the finished strap.
Trim the seam to 1/4 inch and press it open. Place the join where it will not sit under the slider or at a fold.
A straight seam also works for thin fabric. It is quicker but a little thicker.
Check the full length again after joining, and trim it to size.
Apply Interfacing
Lay the interfacing glue side down on the wrong side of the strip. Cover it with a pressing cloth and press with a hot iron for several seconds in each spot. Follow the directions that come with your interfacing.
Lift the iron and set it down again as you go. Do not slide it, or the layers can shift. Keep these points in mind:
- Cut straps four times the finished width.
- Keep interfacing 1/2 inch from each end.
- Piece narrow fabric with angled or straight seams.
- Press firmly, don’t slide, to avoid distortion.
- Let layers cool flat before handling.
For a padded strap, cut a strip of fusible fleece a little narrower than the finished width. You will add it in the next step.
Fold and Press the Strap
Fold the strip in half lengthwise, wrong sides together, and press a crease down the middle. Open it out. This crease is your guide.
| Step | Action | Result |
|---|---|---|
| 1 | Fold one raw edge under | Neat starting edge |
| 2 | Fold strap in half lengthwise | Center crease |
| 3 | Bring raw edges to center | Hidden raw edges |
| 4 | Tuck ends inward | Clean finish |
Fold each long raw edge in to meet the center crease, and press. For a padded strap, lay the fleece inside one half now. Then fold the strip in half along the center crease, so the raw edges are hidden inside. Press well and hold the layers with sewing clips. You now have a strap four layers thick.
Topstitch the Crossbody Strap
Topstitch along both long edges, about 1/8 inch in from each edge. Use a slightly longer stitch, about 3 to 3.5 mm, and a denim needle in size 90/14 or 100/16. Polyester thread is stronger than cotton for straps.
Sew the open edge first, then the folded edge, both in the same direction. That keeps the layers from rippling. A walking foot helps the thick layers feed evenly. A few tips:
- Keep the strap flat under steady pressure
- Watch the edge, not the needle
- Slow down where layers thicken
- Use a regular straight stitch on stressed sections, length three
- Pull thread tails tight, then melt or tie them off for a clean finish
For a wider strap, add one or two more rows of stitching down the middle. They keep the layers flat and add strength.
Add Swivels, Sliders, and Clips
Now add the hardware in this order. First, wrap one end of the strap around the center bar of the slider. Fold about 1 inch back on itself and stitch it down.
Second, take the free end and pass it through the eye of the first swivel clip. Then feed it back through the slider, over the center bar, on top of the end you just stitched. Third, pass the free end through the second swivel clip, fold 1 inch back, and stitch it down.
Check that the strap is not twisted before you sew that last end. Slide the slider along the strap. It should shorten and lengthen the loop smoothly. Swivel clips turn freely, so the strap can untwist itself as you move.
Sew the Strap Ends Securely
The ends carry the whole weight of the bag, so stitch them firmly. Fold the end under about 1 inch around the hardware and clip it flat.
Sew a small rectangle through all layers, close to the hardware. Then sew an X from corner to corner inside it. This box-and-X stitch spreads the load across many stitches. More tips:
- Check that the webbing lies smooth and untwisted.
- Mark your stitch lines before you start.
- Backstitch at each corner for added grip.
- Melt thread ends lightly to stop fraying.
- Test the fold with a firm tug after stitching.
If your machine struggles with the thick fold, turn the hand wheel for the first few stitches, or tap the fold gently with a hammer to flatten it first.
Attach the Crossbody Strap to the Bag
The bag needs a D-ring on each side for the clips. Sew each D-ring into a short fabric tab, and stitch the tab into the side seam or onto the side panel with its own box-and-X.
Check the length before you finish. At its longest, the strap should let the bag reach your hip.
Place the tabs near the top of the bag on both sides, so it hangs level.
Clip each swivel hook onto a D-ring. The gate should snap fully shut.
Give each side a firm tug to check the tabs and stitching.
Put the bag on and move the slider until the bag sits where you like it.
Look for twists, and check that both tabs take the load evenly.
Fill the bag with what you plan to carry and wear it around the house for a few minutes before you call it done.
Frequently Asked Questions
How to Make a Crossbody Strap More Comfortable?
Make it at least 1 inch wide, and wider for a heavy bag. Add a layer of fusible fleece inside for padding. Make it adjustable so the bag sits at your hip, and keep the load light.
How to Make a Cross Body Bag Strap?
Cut a strip four times the finished width, fuse interfacing to it, fold the edges to the center, fold in half, and topstitch both edges. Add a slider and two swivel clips, and stitch the ends with a box and an X.
How to Sew an Easy Crossbody Bag?
Cut two rectangles of sturdy fabric and two of lining. Sew each pair around three sides, add D-ring tabs at the top corners, join the outer bag to the lining at the top edge, and add a zip or snap. Then clip on the strap.
Conclusion
A comfortable crossbody strap comes down to width, length, and strong ends. Cut it four times the finished width, interface it, topstitch both edges, and secure the hardware with a box-and-X stitch. Make it adjustable, and you can set the fit for any outfit.