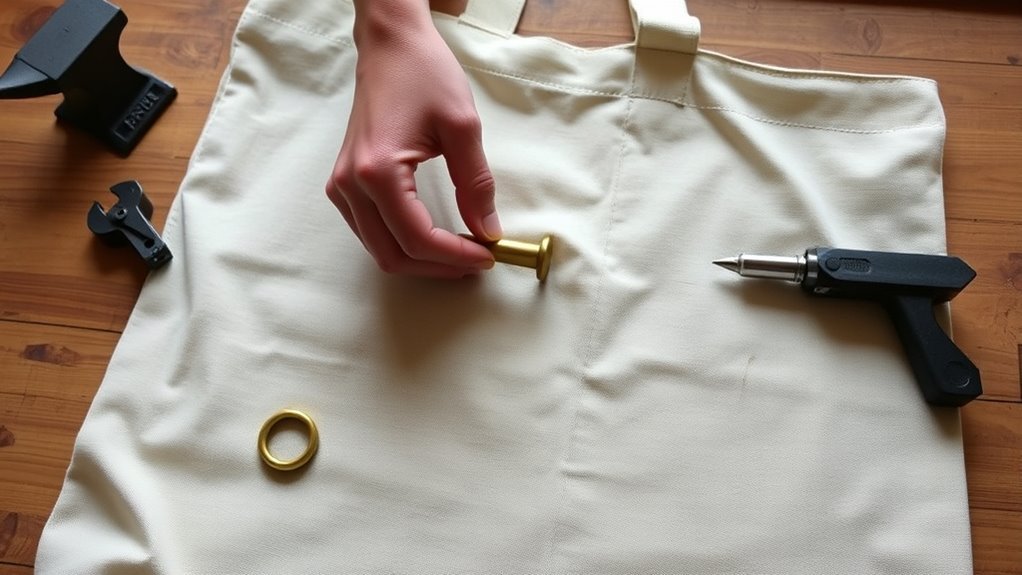
Start by matching the new grommet to the existing hole and fabric thickness, then remove the old one by cutting around the edge and pulling it free with pliers. Reinforce the area, punch a clean 9/16-inch hole, and keep the fabric flat during installation. Press the grommet together in one firm motion so it seats evenly. If it feels loose or crooked, clear frayed fibers and reset it for a stronger finish.
Choose the Right Bag Grommet Size
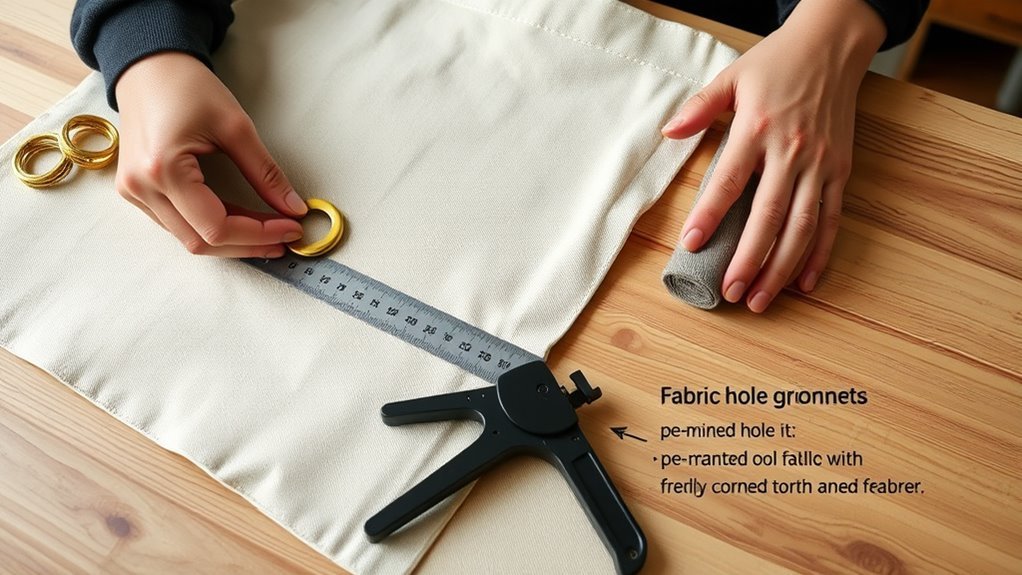
To choose the right bag grommet size, first measure the existing hole and match it to the grommet’s inner and outer diameters; for example, a number 4 spur grommet has a 9/16-inch inner diameter and a 1.12-inch outer diameter.
Then check your fabric thickness, because a 0.320-inch shaft length suits thicker materials better and helps you keep the bag strong under load.
You should select grommet materials that fit the job: reinforced spur grommets work best for heavy-duty use, where freedom from failure matters.
Always verify fabric compatibility on the package specifications before you buy, because the wrong fit can tear fibers and weaken the opening.
When you match size, thickness, and material, you create a secure, durable anchor that supports your work and protects the bag’s structure without wasting effort or compromising performance.
Remove the Old Bag Grommet
With the correct grommet size selected, you can now remove the old one by locating it and carefully cutting around its edge with a sharp utility knife so you don’t damage the surrounding fabric.
Use your installation tools, especially pliers, to grip the grommet only and pull it free with steady pressure. If it resists, add a small amount of penetrating oil and wait briefly so rust or corrosion releases its hold.
Grip the grommet itself with pliers and pull steadily; use a touch of penetrating oil if it’s stuck.
Stay focused on the metal or plastic grommet materials, not the fabric, so you preserve the panel’s strength and keep control of the repair.
Once the grommet comes out, inspect the opening for rough edges, fraying, or residue. Trim or reinforce any weakened spots before you move on.
Then clean the area thoroughly so no debris remains. A clear, stable opening lets you work with confidence and keeps you in command of the next installation step.
Cut a Clean Hole Without Fraying
Before you cut, reinforce the area around the opening with fabric glue or interfacing so the edges hold together during the punch and won’t fray afterward. Choose a 9/16 hole cutter to match the inner diameter of the number 4 spur grommet. These hole cutting techniques give you a snug, exact opening and support fabric preservation tips that keep your bag usable and free.
| Step | Action | Result |
|---|---|---|
| 1 | Secure the punch | Stops shifting |
| 2 | Strike with a three-pound hammer | Cuts cleanly |
| 3 | Lift straight up | Protects fibers |
| 4 | Trim thick layers with a rotary cutter or sharp scissors | Refines edges |
| 5 | Leave the hole alone | Prevents fraying |
Position the cutter squarely, then hit it firmly. Don’t twist or pull the fabric after the cut; that can damage the opening and weaken the weave. If the material’s layered or dense, make any final edge cleanup with sharp blades, not force.
Install the New Bag Grommet
Set the male part of the number 4 spur grommet face up on the die, then center the fabric over it so the 9/16 inch hole lines up cleanly. Place the spur half on top with the spurs facing down, then select the matching installation tools for this grommet type.
Use the punch to drive the two parts together in one firm press; you want the metal to bite into the fabric, not bruise it.
- Keep the fabric flat to preserve alignment.
- Match the grommet type before you press.
- Use steady force, not repeated strikes.
After you set it, inspect the edge for full engagement and a tight grip. The grommet should sit flush and resist spinning. If it doesn’t, reset it before you move on.
This method gives you a durable, clean finish and lets you reclaim your gear with confidence and control.
Fix a Loose or Crooked Grommet
If the new grommet sits loose or looks crooked, inspect the hole first and clear away any frayed fibers or debris so the next fit can seat cleanly.
Check the opening for wear; if it’s enlarged, use a 9/16 hole cutter to true it up and restore a tight seat.
If the grommet is already skewed, lift it out gently with a punch and flatten the rolled edges before reinstalling.
Match your grommet materials to the fabric’s thickness and stress level, then set the ring straight on a sturdy work surface so it can’t wander.
Use precise installation tools to press both halves evenly and keep the eye aligned.
If the edge still feels weak, add stitching around the opening to lock the fibers in place and stop future tearing.
Done correctly, you reclaim a secure, clean attachment that holds up under load without trapping extra strain in the cloth.
Frequently Asked Questions
How Do I Install Metal Grommets in Fabric?
You’ll punch a 9/16-inch hole, match the grommet types to your fabric compatibility, set the male half under the fabric, add the spur half, then strike with a three-pound hammer using the proper die set.
How to Remove a Curtain Grommet?
Lay the curtain flat, then pry the grommet halves apart with a small flat-head screwdriver. Over 80% of damage comes from rushed removal, so match grommet types to fabric compatibility and wear eye protection.
What Is the Best Tool for Grommets in Fabric?
You’ll want a specialized punch-and-die grommet set matched to your grommet types and fabric compatibility. Use a 9/16 hole cutter, sturdy bench, and heavy hammer; you’ll get clean holes and strong, tear-resistant installation.
Can You Put Grommets on Without a Tool?
No, not reliably: if you try on canvas with spur grommet types, fabric compatibility suffers, and you’ll likely tear it. A punch-and-die kit or proper setter gives you clean holes, secure fit, real freedom.
Conclusion
Replacing bag grommets without tearing the fabric comes down to matching the size, removing the old piece carefully, and cutting a clean, supported hole. You’ve also seen that a snug, well-set grommet holds better than one forced into oversize fabric. If it sits crooked or loose, fix it before use; the tension should distribute evenly, not shred the material. With the right tools and steady pressure, you can restore strength without damaging the bag.