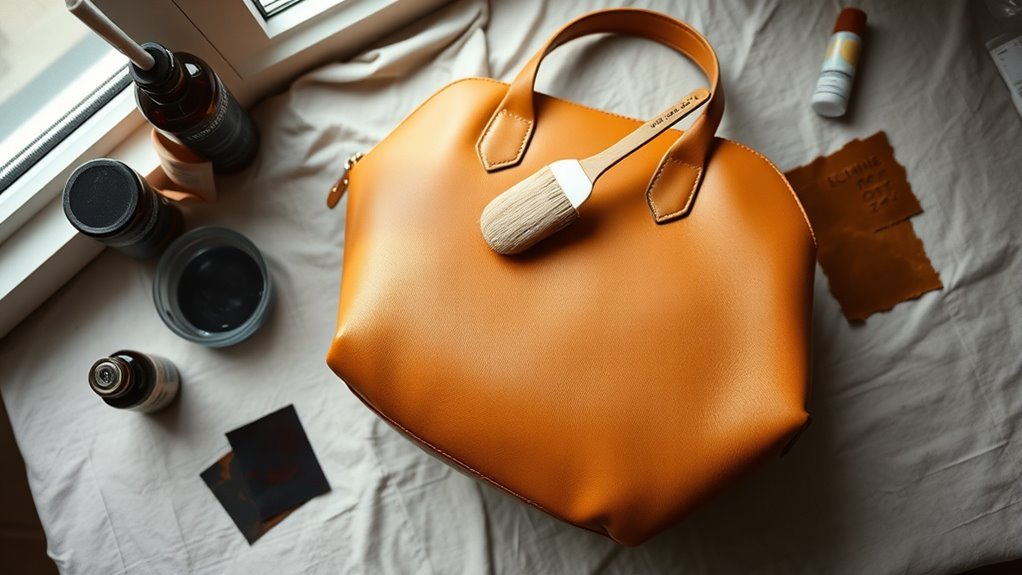
To dye a leather handbag without uneven patches, clean it, prepare the surface as the dye maker instructs, test the dye on a hidden spot, apply it in several thin, even coats, let each coat dry, then buff and seal the finish. Dyeing is hard to reverse, so work slowly, and consider a professional for a valuable bag.
Before You Start: Is Dyeing the Right Option?
Dye works best on smooth, uncoated or lightly finished leather, and it works best when you are going from a lighter to a darker color. You cannot make dark leather lighter with dye. Heavily coated, patent or glossy leathers do not take dye well, because the finish blocks it, and suede and nubuck need dyes made for them. If the bag is valuable, has a distinctive finish or has worn badly, a professional restorer is a safer choice. For leather types, see leather types used in handbags.
What You Need
- A leather dye suited to the finish of your bag, with a matching leather prep or cleaner if the maker recommends one
- A soft cloth, sponge or dauber, and a small brush
- Gloves, a mask if the product advises it, and good ventilation
- Paper or plastic to protect your workspace
- A leather finish or sealant recommended by the dye maker
- Leather conditioner, for after the dye has set
Clean and Prepare the Leather
Clean the bag with a gentle leather cleaner, to remove dirt, oils and any old protective product. Let the leather dry completely, because trapped moisture changes how it takes the dye. Most dye makers also recommend a prep step that removes the finish, often called a deglazer or prep solution, so that the dye can penetrate. Follow their instructions, and wear gloves. Remove or mask hardware, zippers and linings that you do not want colored, and stuff the bag lightly so that it holds its shape while you work.
Test the Color on a Hidden Spot
Choose a hidden area, such as the underside of a strap or the inside of a flap, and apply a small amount of dye. Let it dry fully, since dye usually looks darker when it is wet. Then press a white tissue on it, to see whether color transfers, and check the shade in daylight. The test shows how the leather takes the color and whether it will be even, and you can adjust the plan if it does not look right.
Mix and Prepare the Dye
Shake or stir the dye well, so that the pigment is evenly spread. If the maker recommends diluting it, follow their ratio, and use a clean, nonporous container, such as glass. A lighter, more diluted coat is easier to control than a heavy one, and it lets you build up the color slowly.
Apply Thin Coats to Avoid Patchiness
Patches usually come from applying too much dye at once, from pausing partway through a panel, or from uneven pressure.
- Work on one panel at a time, from a seam to a seam, so that you do not leave an edge in the middle of a surface.
- Apply a thin coat with a damp, not dripping, applicator, using even strokes in one direction.
- Keep the pressure and the angle steady.
- Let the coat dry completely before you apply the next one, which can take from a short time to several hours, depending on the product.
- Build the color in two to four thin coats until you reach the shade that you want.
Brush, Dry and Seal
After the final coat, buff the surface gently with a soft cloth or brush to even the color and remove excess dye. Let the bag dry in still air, away from heat and sun, then look at it in different lights to spot faint patches. If you find them, apply another very thin coat to those areas only. When the color is even and fully dry, apply the finish or sealant that the dye maker recommends, to protect the color from rubbing off. Finish with a leather conditioner, if the instructions allow it.
Check for Dye Transfer
Once everything is dry and cured, rub a clean white cloth or tissue on an unobtrusive area. If color comes off, the dye needs more time to cure or another coat of sealer. Dye that rubs off can stain clothes, so test before you carry the bag. For a similar problem on fabric bags, see why tote bag colors bleed.
Fixing Splotchy Results
If the result is blotchy, let it dry, and then apply thin coats over the lighter areas, to even out the color. Avoid rubbing hard, which can lift color. If a patch is much darker than the rest, you may need to use a prep product to lighten the area, then redo the coat. If you are unsure, consult a leather restorer rather than risk further damage. A white powdery residue on leather is a different issue, which is explained in why leather bags develop white residue.
Aftercare
Condition the leather every few months, as described in how to condition leather, and keep the bag away from long sun, which fades dye. Store it in a dust bag, and avoid contact with pale clothing for the first weeks. For sticky or damaged finishes, see why patent leather bags get sticky and whether cracked patent leather can be repaired. For water marks, see removing water stains from a leather bag.
Frequently Asked Questions
What Is the Best Dye for a Leather Handbag?
Use a leather dye that is made for the type and finish of your bag, from a maker that gives clear instructions. Test it on a hidden area before you start.
How Do I Fix Splotchy Leather Dye?
Let it dry, then apply thin coats of dye over the light areas to blend them. If it remains uneven, consult a leather specialist.
Is It Better to Dye Leather Damp or Dry?
It depends on the product. Many instructions suggest lightly dampening the leather for a more even coat. Follow the maker instructions.
Can a Leather Handbag Be Dyed at Home?
Yes, in many cases, particularly for smooth leather and darker colors, but the result depends on the finish. Valuable or coated bags are better left to a professional.
Conclusion
Even leather dye comes from careful preparation, a test spot, thin coats and a proper seal. Work slowly, accept that dye cannot lighten leather, and ask a professional if the bag is valuable.