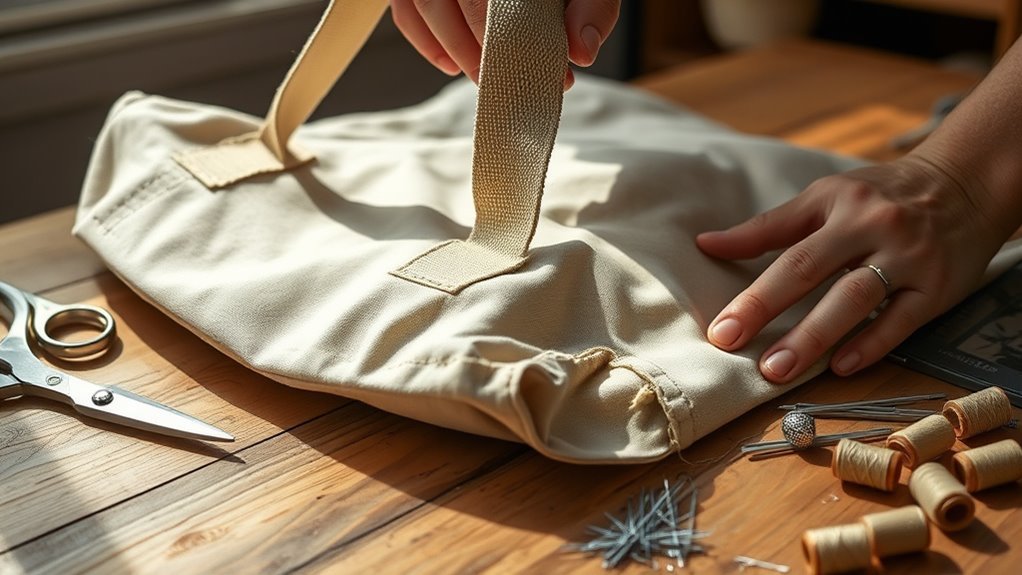
To reinforce tote bag handles before the seams fail, strengthen the points where the handles join the bag. Sew a box with an X through it over each handle end, using heavy polyester thread. Add a patch of sturdy fabric inside the bag behind each handle, so the stitches pull on two layers instead of one. If you are making or remaking the bag, run the handles 5 to 8 cm down into the body. Check the stitching every few months and fix loose threads early.
Quick Tips for Reinforcing Tote Bag Handles
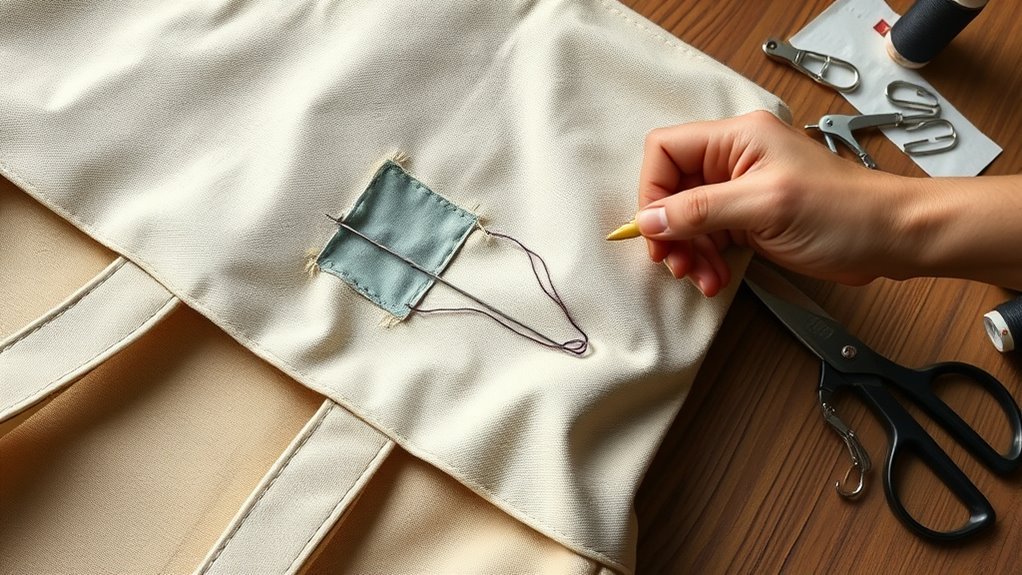
Handles almost never break in the middle. They fail where they are stitched to the bag, because all the weight pulls on a few centimeters of seam. Reinforcing means spreading that pull over more stitches and more fabric.
The standard fix is the box-X stitch: a square or rectangle of stitching with a cross inside it. It holds the handle from several directions, so no single row of stitches takes the whole load.
Depth helps too. A handle that overlaps the bag by 5 to 8 cm has room for a full box-X. A handle caught only in the top hem has one row of stitches holding it. Wider handles, around 3 to 4 cm, also spread the load across more of the seam.
Last, back the area with a second layer. A patch of canvas or a strip of webbing inside the bag keeps the stitches from tearing through a single layer of fabric.
Sewing Handles for Maximum Durability
If you are sewing a new tote, build the strength in from the start.
Place each handle end on the bag body, 5 to 8 cm below the top edge, and sew a box-X through the handle and the bag.
Then sew a second row of stitching across the handle at the top edge of the bag. Two rows share the strain and stop the handle from peeling away.
Handle Attachment Techniques
These three choices do the most for handle strength:
- Use a box-X stitch pattern, which distributes stress evenly.
- Sew handles 5–8 cm deeper into the bag body to improve support and resist pulling.
- Opt for wider webbing (3–4 cm) for handles, improving load distribution and reducing strain.
A bar tack is another option. It is a short, dense row of zigzag stitches across the handle, used on jeans and backpacks. Put one at the top edge of the bag, where the handle starts to pull.
Fuse a square of interfacing or sew a canvas patch behind each attachment point before you add the handles.
Reinforcement Stitching Methods
To reinforce a bag you already own, work on one handle end at a time.
Mark a box on the handle where it overlaps the bag, about as tall as the handle is wide or taller. Stitch around the box, then stitch corner to corner both ways to form the X. Start and finish with a few backstitches.
If the old stitching is already loose, do not unpick it unless it is hanging off. Sew the new box-X right over it. Then add a bar tack or a second straight row at the top edge of the bag.
Use a slightly long stitch, about 3 to 3.5 mm. Very short stitches punch a line of holes that can tear like perforated paper.
Choosing the Right Fabric for Strong Handles
Fabric matters as much as stitching. Heavy canvas and denim hold stitches well and resist tearing. Thin cotton does not, which is why cheap promotional totes fail at the handles.
For the handles themselves, consider these options:
- Use webbing or sturdy nylon for superior tensile strength.
- Reinforce handles by sewing multiple layers together, focusing on high-stress areas to prevent seam failure.
- Incorporate interfacing or batting between fabric layers for added stiffness, reducing sagging over time.
For the bag body, canvas of about 12 ounces or heavier is a good choice for loads such as groceries and books. If your fabric is lighter, the backing patch becomes essential.
Use strong thread. All-purpose polyester is fine for light totes. For heavy use, choose heavy-duty or upholstery polyester thread and a denim needle in size 100/16 or 110/18. Cotton thread is weaker and wears faster.
Why Deep Handle Anchors Are Crucial for Durability
How far the handle runs into the bag decides how the load is carried.
With a 5 to 8 cm overlap, the pull spreads over a patch of fabric instead of a single line. On heavy-duty totes, the handle webbing runs all the way down the side, under the base, and up the other side. The straps then cradle the load, and the seams carry very little.
You can add this to an existing bag. Sew a length of webbing over the old handles, down the front, across the base, and up the back, in one continuous loop on each side.
It is the strongest fix of all, and it suits bags used for groceries, tools, or other heavy loads.
After any reinforcement, test the bag at home. Load it with books or cans to more than its usual weight, lift it by the handles, and look at the stitching.
Spotting Stress Points on Your Handles
Check the handle attachments now and then, since that is where trouble starts.
Look for these early signs:
- Fraying or Wear: Check for any signs of fraying along the seams, indicating the stitching is under strain.
- Handle Alignment: Verify the handles aren’t twisted or misaligned, as this can lead to uneven stress distribution when loaded.
- Seam Separation: Look for visible gaps, particularly at the base where handles attach, as this signals the need for reinforcement.
Best Stitch Patterns for Sturdy Seams
For handle attachments, the box-X is the first choice, and a bar tack at the top edge is a useful addition. For the bag seams, a straight stitch sewn twice, or a straight stitch plus a zigzag over the raw edge, holds well. A French seam or a flat-felled seam is stronger still, because the fabric is folded and stitched twice.
Essential Maintenance Tips for Tote Bag Handles
Once the handles are reinforced, a little care keeps them that way.
Do not carry more than the bag was made for. A reinforced seam is stronger, but the fabric around it still has limits.
Lift a heavy bag by both handles together, so each one takes half the load.
Handle Stitching Techniques
Go back over the stitching from time to time. If a thread has snapped, resew that section before the gap grows.
Keep the overlap and the box-X in mind if you ever replace a handle. A few more points:
Consider these key aspects:
- Bar-tack reinforcements: Add these at stress points for additional support against tearing.
- Wider webbing: Use 3–4 cm webbing to evenly distribute loads and minimize seam stress.
- Thread selection: Choose strong, durable threads suited for heavy use to guarantee longevity.
Wash canvas totes in cold water and let them air dry. Hot washing shrinks the fabric and strains the stitches.
Material Selection Tips
If a handle is frayed or thin, reinforcing the seam will not save it. Replace the handle with cotton or polypropylene webbing, or with a double layer of canvas.
Attach the new handle with a box-X and a backing patch, as above.
For shoulder carry, a handle drop of about 9 to 11 inches fits most people. A handle width of 3 to 4 cm is comfortable and spreads the load on the seam.
Replace both handles at the same time, so they match in length and strength.
How to Inspect Handles for Signs of Wear?
A quick check takes a minute. Look at each handle end, inside and out:
Start by examining your handles closely:
- Check for Fraying: Look at the edges for any fraying, a clear sign of weak points.
- Examine Stitching Integrity: Inspect seams for loose or broken stitches that could lead to unraveling.
- Assess Fabric Condition: Feel for any soft spots or thin areas that indicate wear.
Then pull each handle firmly. The stitching should not open, and the fabric around it should not pucker or show gaps. If it does, reinforce it now, before a full load finishes the job.
How to Personalize Your Reinforced Handles
Reinforcing can improve comfort and looks as well.
Thin handles dig into the hand and shoulder. Fold a strip of fleece or batting inside a fabric sleeve and sew it around the middle of each handle for padding.
A leather or faux leather wrap, stitched or snapped around the grip, does the same job and protects the handle from sweat and wear.
A box-X in a contrast thread color makes the reinforcement a visible detail. Many workwear and outdoor bags use it this way.
Frequently Asked Questions
How Do I Keep My Bag on My Shoulder?
Choose handles at least 3 cm wide with a drop of about 9 to 11 inches. Flat cotton webbing grips clothing better than smooth nylon. Carry both handles together, and do not overload the bag.
Can a Bag Handle Be Repaired?
Yes. A handle that has come loose can be resewn with heavy polyester thread and a box-X stitch, with a patch behind it. A torn or frayed handle can be replaced with new webbing. Do not rely on glue, which will not hold weight.
Conclusion
Tote handles fail at the attachment, so that is where to work. Add a box-X stitch, back it with a patch, and use strong thread. For heavy loads, run webbing all the way around the bag. Check the stitching regularly, and repair small problems before they spread.