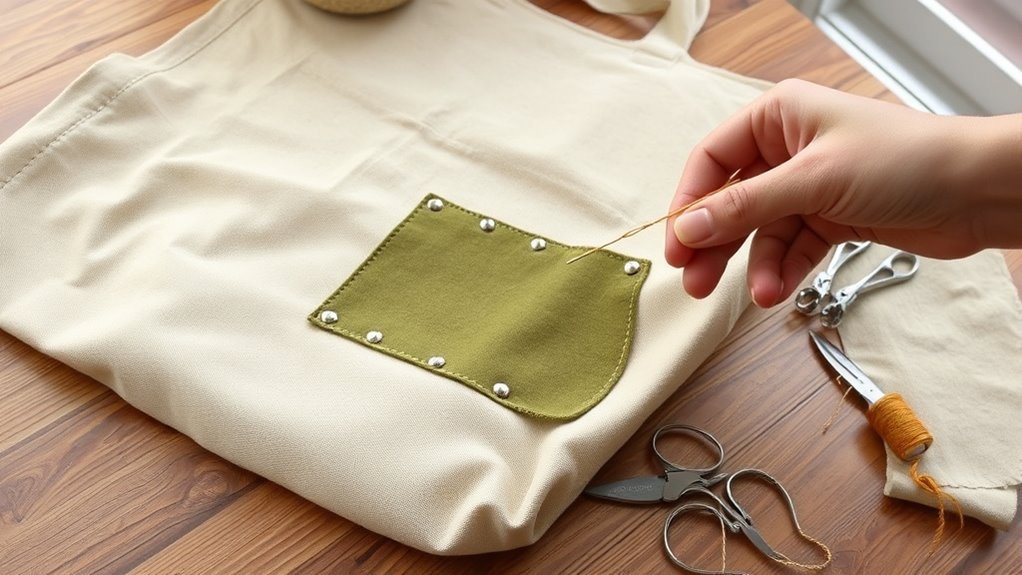
To patch a canvas tote bag with a durable fabric repair, you should first clean the torn area with mild soap and water, then let it dry fully. Trim loose threads and cut a heavy canvas patch 1–2 inches larger than the damage. Apply strong fabric adhesive, clamp it, and let it cure. Afterward, stitch the perimeter with heavy-duty thread and seal the raw edges to prevent fraying and extend service life. More detail follows.
How to Patch a Canvas Tote Bag
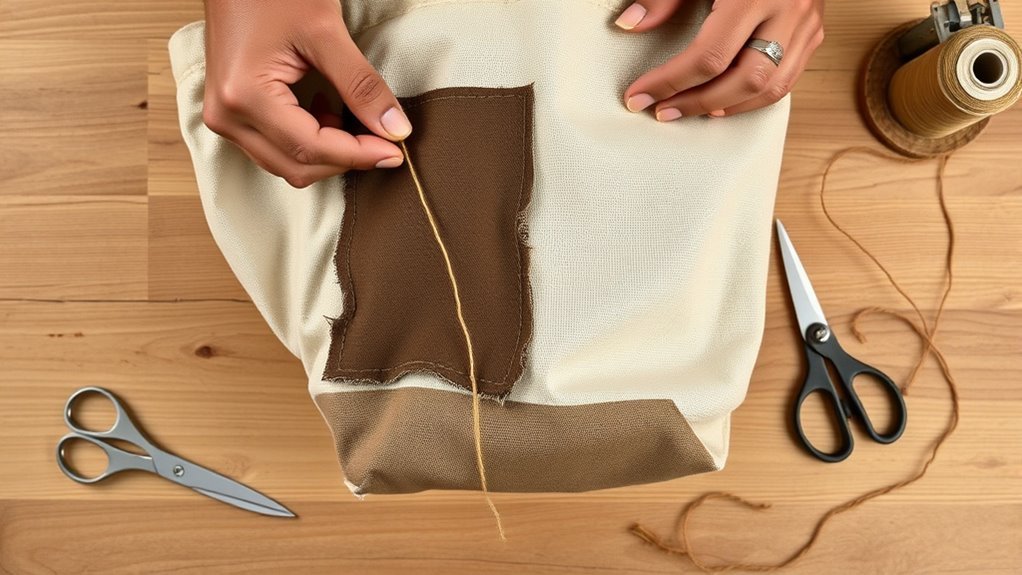
Start by cleaning the damaged area of the canvas tote bag with mild soap and water, then let it dry completely so no dirt or moisture remains before repair.
You should assess the tear’s size and choose patching techniques that match the bag’s fabric types, favoring heavy canvas that aligns with the original weave.
Cut the patch so it extends 1–2 inches beyond the damage; that margin distributes stress and resists future rupture.
Apply strong fabric adhesive to the tear’s edges, then press the patch firmly into place.
Apply strong fabric adhesive to the tear’s edges, then press the patch firmly into place.
Hold it with clamps or weights while it cures for 24–72 hours.
After bonding, stitch around the perimeter with heavy-duty thread using a sewing machine or a backstitch by hand.
This dual fixation strengthens the repair and supports durable, self-directed use.
Inspect adjacent areas for wear, and seal seams if you need renewed water resistance.
What You Need for a Strong Repair
For a strong canvas tote repair, you’ll need a matching heavy-canvas patch, high-quality fabric adhesive, and heavy-duty polyester or nylon thread. Choose patch materials that mirror the tote’s weave and weight; this preserves structural continuity and keeps the repair visually disciplined.
Use repair techniques that combine adhesive bonding with secure stitching, because liberation from wear depends on redundancy, not compromise. Thread the patch with a heavy-duty sewing machine or a sewing awl, and place extra stitches at high-stress zones such as corners and strap anchors.
Select adhesive rated for fabric load, since it must cure into a firm bond under pressure. Keep your tools clean and your work measured; precision protects the bag’s service life and your autonomy from disposable goods.
With the right materials and method, you can restore function without surrendering integrity or waste.
How to Clean and Prep the Torn Area
Clean the torn area inside and out with a soft-bristled brush or a damp cloth to remove dirt, dust, and debris. Then inspect the damage closely to gauge whether you’re dealing with a small hole or a larger tear.
Use restrained cleaning techniques that preserve the canvas’s structure and, on waxed fabric, skip detergent so you don’t strip the finish. After wiping, let the tote air dry fully; trapped moisture can foster mold and weaken later adhesion.
Trim loose threads now to define the edge and prevent fraying from spreading.
- Brush or wipe both sides.
- Assess hole size and tear length.
- Remove stray fibers, then dry completely.
These prepping tips help you document the damage with precision and prepare the fabric for repair without surrendering the bag’s integrity.
How to Glue and Sew the Patch
Once the torn area is clean and fully dry, you can begin securing the repair with adhesive and stitching.
Select a durable patch material and cut it so it overlaps the damage by 1 to 2 inches on all sides; that margin spreads load and honors the tote’s working life. Among patch types, choose one that matches the canvas weight and flex.
Choose a durable patch that overlaps the damage by 1 to 2 inches on all sides.
Evaluate adhesive options, then apply a high-quality fabric adhesive along the tear edges and the patch perimeter. Press the patch in place with even force, and use clamps or weights to hold alignment while the bond cures.
After the glue sets, reinforce the seam by stitching around the full perimeter with heavy-duty thread. Use a sewing awl or a heavy-duty machine for consistent penetration and tension.
Let the repair cure 24 to 72 hours before use, so your tote returns to service with strength and dignity.
How to Finish the Repair and Prevent Fraying
Trim any excess thread now that the patch is secured, and make sure all edges are fully fastened so the repair won’t fray and the finish stays clean and professional.
Add your finishing touches with seam sealer along the stitched perimeter to improve waterproofing and resist abrasion. For raw edges, use fabric glue or fray check; these barriers lock fibers in place and keep the canvas’s structure intact.
If the tote will carry heavy loads, double-stitch around the patch for extra strength in high-stress zones.
- Inspect the seam line for gaps.
- Reapply protective treatment where wear appears.
- Record the repair for long term maintenance.
After curing, flex the bag and check for puckering or loose fibers. You’re preserving a tool for autonomous use, not just mending cloth.
Regular inspection protects the repair’s integrity and extends service life.
Frequently Asked Questions
How to Repair a Torn Canvas Bag?
You repair a torn canvas bag like mending a small flag of use: clean it, trim frays, apply a heavy canvas patch, press adhesive, then stitch edges. That’s precise canvas bag maintenance and fabric patching techniques.
How Can I Repair Torn Canvas Fabric?
You can repair torn canvas fabric by cleaning it, trimming loose fibers, then applying a heavy canvas patch with strong adhesive and stitching techniques. Choose durable fabric choices, reinforce edges, and let the repair cure fully.
What Is the Best Glue to Use for Patching Canvas?
You’ll get the best bond with a waterproof fabric adhesive made for heavy fabric types, like Tear Mender or Aleene’s Original Tacky Glue. Choose durable adhesive options, apply thinly, and stitch edges for reinforcement.
Can a Torn Canvas Be Repaired?
Yes, you can repair torn canvas. You’ll restore canvas durability with careful patching techniques: clean the tear, trim frayed fibers, bond a matching patch, then stitch reinforcement. You’re preserving utility, memory, and independent use.
Conclusion
With your tote cleaned, patched, and stitched, you’ve performed a tiny act of textile heroism—proof that a frayed canvas bag needn’t be ceremoniously retired to the bin of tragic consumer history. Trim the loose threads, seal the edges, and admire your repair like an archivist rescuing a minor artifact from collapse. If you handled the seam well, the bag should endure daily use with the stubborn dignity of something that refuses to quit.